This article is part of a Don’t Throw It Out! series on how to preserve fresh foods and avoid food waste.
Do you want to can food at home, but are put off by the cost? For around $15, you pull together most of the essential equipment by using equipment you probably already own. Below we list a detailed, but cheap canning equipment list. To obtain safe canning recipes, download the free booklet, USDA Home Canning Guide. To preserve food in jars, you must use bona fide canning jars, screw bands, and new lids — a dozen will cost about $10. Keep reading to find out essential equipment and tools you need to safely preserve food by canning. The easiest foods to preserve include jams, tomatoes, salsas, fruits, vegetable relish, and pickled vegetables.

Essential canning equipment and tools
The essential equipment for BWB canning includes four items: a BWB canner, canning jars, new jar lids, and screw bands or rings. One other tool that I consider essential is a jar lifter. With a jar lifter, it is easy and safe to add and remove jars from the canner. A basic jar lifter costs around $5, making it well worth this small investment. The only other safe option is to use a BWB canner jar rack, one designed to rest on the edge of the pot. If you buy a BWB canner, it comes with a jar rack. A ladle, funnel, and tested canning recipes complete the necessary tools.
BWB canner
BWB canner rack or Jar Lifter
Instead of a jar rack (about $7 to $10 when purchased separately), use the rack from a pressure canner if you have one, or a thin cotton or flour sack dish towel. Thicker and synthetic towels often float and get in the way. Another option is a round trivet, steamer rack or cake cooling rack (if it’s sturdy enough) that fits the bottom of the pot. Still other home canners report using a layer of regular screw bands, stainless flatware (knives and forks) or bamboo chopsticks to cover the bottom of the pot. Lash together any of these with cotton string or paper clips, if you want more stability. Still another alternative is to create a rack made from strips of twisted aluminum foil. Crush and roll strips of foil into lengths and weave them together into a “rack” network.
Instead of a jar lifter (about $2 to $5 purchased separately) , use a canning rack that rests on the edge of the pot, or regular tongs with heavy rubber bands wrapped around the bare metal to increase the grip. However, as a safety measure, consider a jar lifter, even if you buy nothing else.
Canning jars
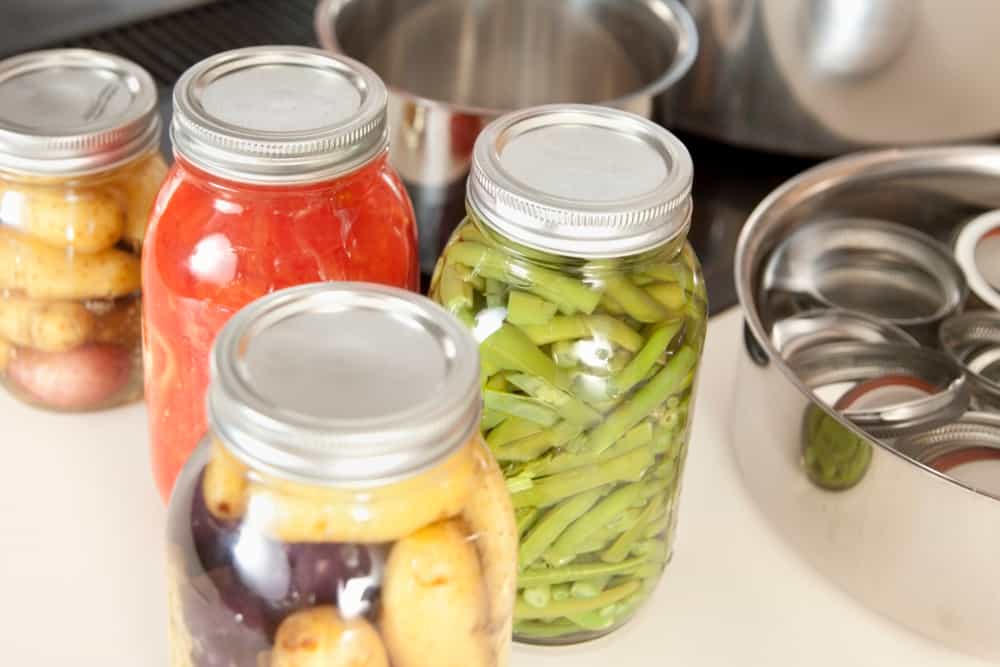
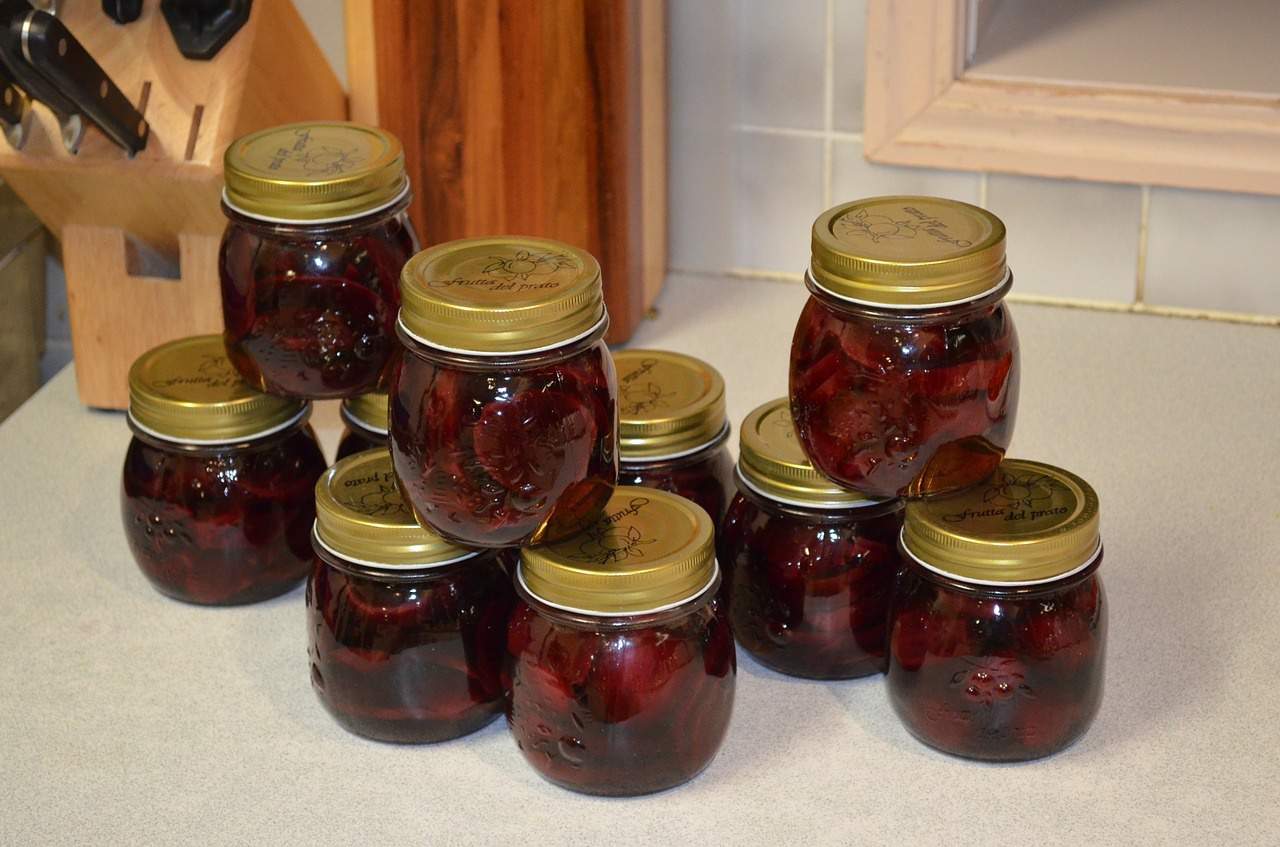
Instead of canning jars (when new, they average 75 cents each, including lid and screw band) — there is no substitute. You must use “mason” jars designed to accept the two-piece canning lids. Canning jars have either regular or wide openings. But the jars come in many sizes, ranging from four ounce to 32 ounce (one quart). Which size to use is specified in a tested recipe. New jars average $9 to $12 per dozen, including lids and screw bands. Canning jars can last a lifetime.
If you find jars at garage sales, they should be free of cracks and chips around the rim. To ensure that used jars are not re-purposed from commercially prepared foods, buy only jars that are embossed with the name of a jar manufacturer, such as Atlas, Ball, Kerr, Presto, or Mason. Some “Mason” canning jars are not embossed, such as jelly jars embossed with a diamond-pattern, but no manufacturer name.
And, here’s some interesting historical information: American John L. Mason patented the threaded screw-neck jar that helped make the canning process easy and reliable. Many glass companies proceeded to manufacture the “mason” jar.
Jar lids and screw bands
Instead of new lids (about $2 to $4 per dozen) — there is no substitute. You must buy new lids for each use. Used lids are not designed for a second use. Attempting to re-use lids may result in jars that don’t seal or produce an incomplete, unsafe seal.
Instead of screw bands or “rings” (about $3 to $7 per dozen, including lids — there is no substitute. However, screw bands can be used over and over, until they become either rusted or bent. Most people can get by with just 1 or 2 dozen rings; rings are removed from jars after the contents have cooled for 24 hours and before storing the canned food in the pantry.

Essential canning tools
Instead of an 8-ounce ladle (about $6 to $15), you can use a large serving spoon, but will want often want to use something larger and heatproof, such as a coffee mug, for pouring hot liquids into the jar. An eight-ounce ladle is ideal for filling half-pint and pint (16 ounce) jars, as well as making quick work of quart (32 ounce) jars.
Instead of a wide mouth canning funnel (about $3 for plastic and more for stainless), you can simply use a large ladle, pour carefully, and clean off any spillage thoroughly. For a makeshift funnel, you can use a heavy-duty paper plate, cut through one edge to the center, and then overlap the cut edges to form a funnel and secure with tape. Or, use a disposable hot cup and cut off the bottom.
Instead of a canning recipe book, check out books from your local library or download free, safe recipes from the National Center for Home Food Preservation (HFP), including the free publication from the U.S. Department of Agriculture (USDA), Complete Guide to Home Canning. It’s best to use canning recipes and books published after 2009, when the USDA updated canning instructions.
Other helpful canning tools
Canning kits include many other tools. Although helpful, safe canning requires only the few items listed above. In fact, I have been canning for 50 years and do not own any of the tools listed below.
Headspace measuring tool (often combined with the air-removal tool, about $1 to $5 when purchased separately). Instead, just use a common ruler. Alternatively, you can create markings on a chopstick or flat piece of wood for the common headspace measurements (¼ inch, ½ inch and 1 inch).
Air-removal tool (often combined with the measuring tool, about $1 to $5 when purchased separately). Instead, use a thin plastic knife or swizzle stick, or a wooden chopstick.
Magnetic lid lifter wand (about $1 to $3 when purchased separately). Instead, use regular kitchen tongs. Tip: Nest each lid inside of a screw band; the band is easy to grasp with kitchen tongs, removing the lid and ring together from the hot holding water.
Jar wrench to open jars. Sometimes slight leakage occurs during processing and makes the band sticky and difficult to remove after the jar is cooled. If this is the case, run a bit of warm water over the band to loosen it easily. Alternatively, I use a flexible rubber jar “gribber” to open difficult jars, or ask someone stronger to open the jar. Note that a jar wrench is used only to open jars; never use a jar wrench to screw on the band after filling. Screw bands onto the jar only until they are fingertip tight.
How to save money on canning equipment and tools
Nationwide, you will find some of the best prices and availability on canning equipment at Wal-Mart stores and Ace Hardware and online through Amazon. Seasonally, the lowest prices are at the end of the season, beginning in August or September; however supply becomes very limited as retailers run out of stock.
If you plan to do pressure canning, purchase a pressure canner (about $75 for a weighted model) and use it for both methods. For BWB canning, leave the vent open and remove the pressure gauge or weights. Before attempting the pressure canning methods, becoming efficient with BWB canning. Read about taking the leap into pressure canning.
Instead of buying a canner and tools separately, purchase a complete canning kit. Canning equipment kits include a BWB canner, jar rack and essential tools.
Instead of buying canning tools individually, purchase a 4- or 5-piece kit (about $8 to $11). Canning tool kits containing essential canning tools, plus other tools you might find helpful. More deluxe and more expensive kits (up to $19) may contain additional tools such as a jar wrench, lid sterilizing rack, timer, cleaning brush, and kitchen tongs.

Canning books with tested recipes
The least expensive book on food preservation is the Ball Blue Book “Guide to Preserving” for around $12. The Ball Blue Book includes instructions for three preserving methods: canning, freezing and drying.
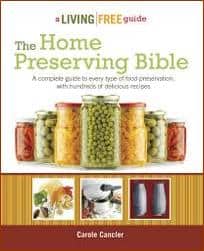
My book, The Home Preserving Bible by Carole Cancler (New York: Alpha Books, 2012) describes the techniques for eight food preserving methods. The Home Preserving Bible also includes more than 300 recipes. It is one of the most comprehensive books about food preservation. Canning, freezing and drying foods are the most common methods for preserving foods at home today. However, other methods may be easier and less expensive, such as fermenting, pickling, curing, sealing, and cellaring. Purchase the Home Preserving Bible at Amazon or from booksellers nationwide.
Tips for saving money on canning equipment
Purchase equipment and supplies at the end of the season. Beginning in late August or early September, retailers typically put remaining canning equipment and tools on sale. As the supply dwindles, be aware that many retailers do not restock canning supplies until the next season, beginning in March or April.
Peruse garage sales for canning equipment. Look for canners, jars with screw bands, and other helpful canning tools. Purchase canners only if they are not rusted, dented, or damaged. Buy only canning jars embossed with the name of a bona fide manufacturer. Finally, examine jars for cracks, and run your finger around the rim to check for telltale chips. Buy only screw bands that without rust that screw evenly onto jars.
If you liked this post, you may also like:
- 5 cheap ways to preserve food
- 6 ways to stop wasting food
- How to keep spring veggies fresh to avoid food waste
- How to keep summer veggies fresh to avoid food waste
- How to keep fall fruits and vegetables longer
- How to store winter fruits and veggies
- How to preserve and avoid wasting fresh fruit
- 8 ways to use stale bread
For more information about food preservation methods and recipes, see The Home Preserving Bible by Carole Cancler.
Photos by Carole Cancler, all rights reserved


Tattler make reusable lids for canning. Love them?
http://www.reusablecanninglids.com/