This article is part of a Don’t Throw It Out! series on how to preserve fresh foods and avoid food waste.
If you are watching your grocery dollars (and who isn’t), here are our ideas for food preservation methods that don’t require expensive equipment. Use any of these tips to preserve budget-friendly seasonal foods by canning, pickling, fermenting, drying and cellaring. To preserve fruits and vegetables at their peak, it helps to understand the difference between maturity and ripeness. Here’s a guideline:
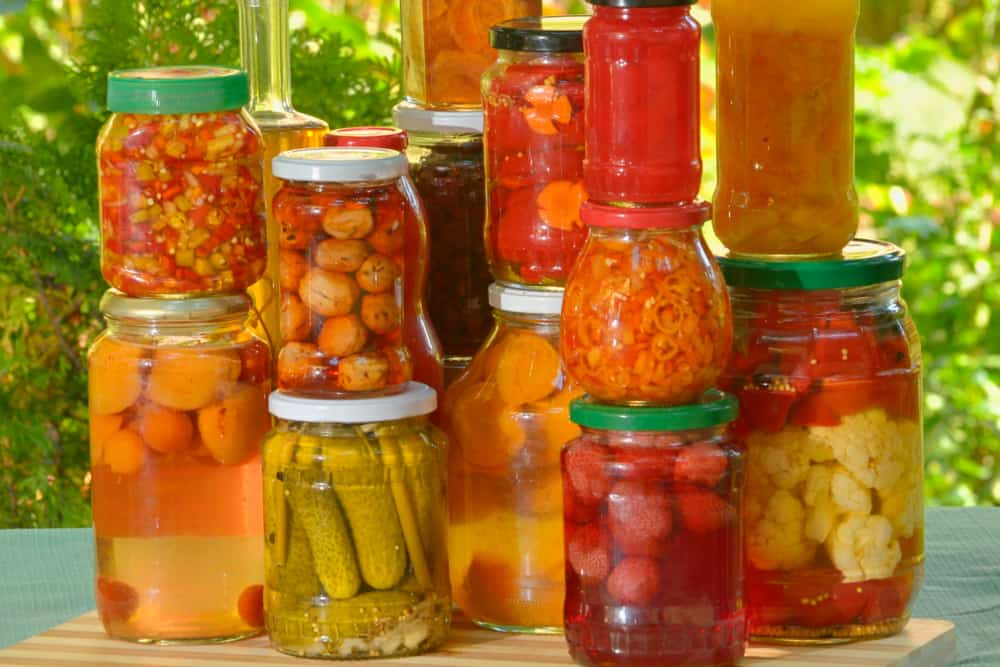 Mature, slightly underripe produce is optimal for canning, pickling, and fermenting.
Ripe produce is best for fresh eating of course, as well as drying and cellaring.
Overripe produce (or the trimmings from any produce) is suitable for making vinegar.
Cheap canning equipment
Essential canning equipment includes a stockpot or boiling water bath canner with a cover and jar rack, canning jars, flat canning lids, jar screw bands or rings, a jar lifter and tested canning recipes. You can get started with canning by using equipment you probably already own.
Instead of a boiling water bath canner, use any large, covered stockpot you already own, such as a soup pot, crab/lobster pot, pasta pot, tamale steamer or pressure canner. Your pot just needs to be 2 to 3 inches taller than your jars. For pint jars, your pot needs to be a minimum of 7½ inches deep; for quart jars, a minimum of 9½ inches deep.
Instead of a jar rack, you can use a thin cotton or flour-sack dish towel — thicker and synthetic towels often float and get in the way. There are many other possible possibilities: round trivets, a steamer rack or sturdy cake cooling rack, a layer of regular screw bands, stainless flatware (knives and forks) or bamboo chopsticks — any of these latched together if necessary with cotton string, paper clips or metallic twist ties.
There is no substitute for canning jars. You must use tempered-glass “Mason” jars manufactured specifically to accept the two-piece canning lids. New jars average $9 to $12 per dozen, including lids and screw bands. If you find jars at a garage sale, make sure they are free of cracks and chips around the rim.
A jar lifter is the one tool that I consider essential for safety. A proper jar lifter costs between $5 and $10, making it well worth this small investment. Some cooks make do with a pair of regular tongs wound with thick rubber bands on each paddle.
Find free tested canning recipes online at the National Center for Home Food Preservation (NCHFP), including the free publication from the U.S. Department of Agriculture (USDA), Complete Guide to Home Canning. For more information about putting together a DIY canning kit, see Preserve food with cheap canning equipment and free recipes.
Pickling foods with vinegar or other acidic liquids
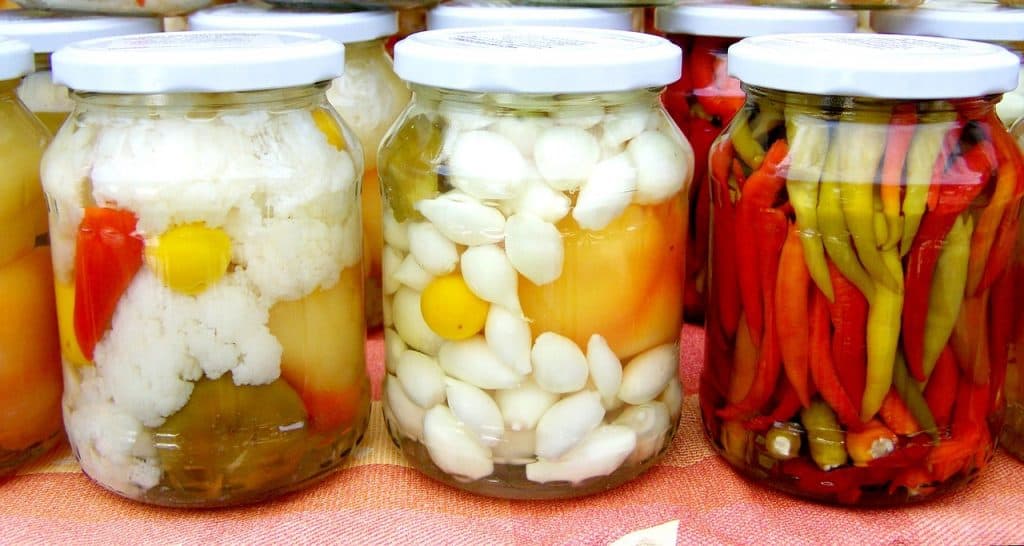
Fresh pickles may be the easiest of all food preservation methods: You simply wash, trim and soak fresh vegetables in an acidic liquid in the refrigerator. The most common acids used to pickle foods are vinegar, lemon juice and whey (drained from yogurt). Always refrigerate fresh pickles and consume within one month. Recent studies have concluded that the food-poisoning bacteria Listeria monocytogenes survive and multiply in low-acid, refrigerator pickles kept for several months. If you are in a high-risk group for food-borne illness, treat refrigerator pickles as fresh food and consume them within three days.
To make safe fresh pickles, sterilize the pickling jar by boiling it for 10 minutes in water. Use only the best quality mature vegetables. Cut washed and trimmed vegetables into slices, sticks or shreds and immerse them in a seasoned acidic liquid. Seasoning the pickling liquid is optional. You may use salt, salt substitutes, sugar, herbs and spices.
Here is one recipe for making refrigerator pickles; you can use the recipe for the brine to pickle other fruits or vegetables besides cucumbers.
Fermenting foods using salt
Fermenting vegetables with salt is one of the oldest and safest food preservation methods. You simply prepare vegetables, layer them with a measured amount of salt and allow them to ferment for one to four weeks. The salt pulls water out of the vegetables and forms brine. After fermentation is complete (indicated when bubbling stops), store fermented vegetables in the refrigerator.
When you use relatively low salt concentration (2.5% to 5% weight of salt to vegetables), combined with cool temperatures (64 degrees Fahrenheit to 72 F), you promote the growth of friendly lactic acid bacteria. Acid produced by the bacteria controls the growth of unfriendly spoilage organisms and creates pleasant, tangy flavors associated with fermented foods. Sauerkraut and kimchi, made by fermenting cabbage, are two of the most common examples of salt-fermented vegetables. Many other vegetables lend themselves to this process, including shredded turnips, rutabagas and kohlrabies.
To ferment vegetables with salt: Sterilize the fermenting jar or crock by boiling in water for 10 minutes; weigh rather than measure the salt and prepared vegetables for best result (2½ to 5 percent salt to vegetables); use only the best quality fresh vegetables; and use only pickling, canning, or kosher salt (without the additives or minerals that found in table or sea salt).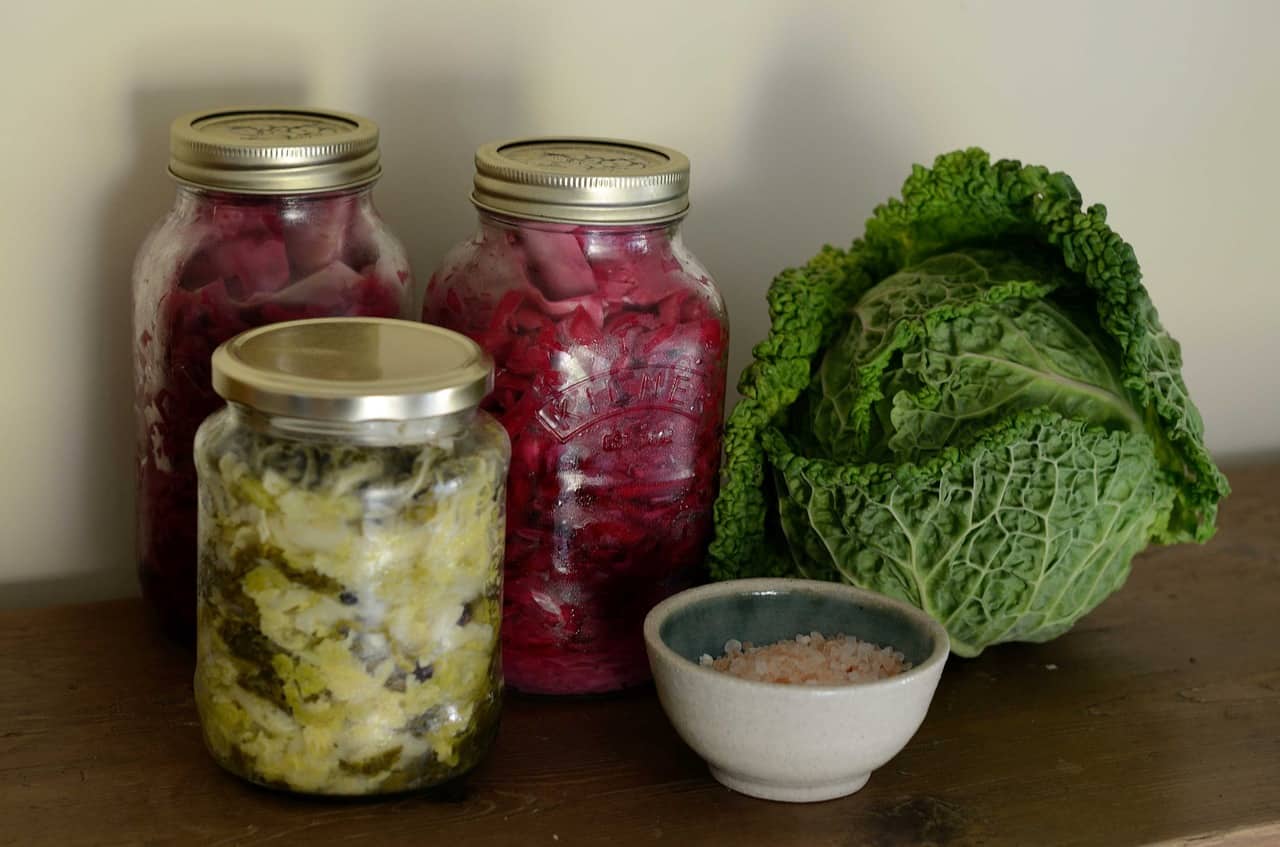
Drying food in your oven or solar dryer
Along with fermenting and pickling vegetables, drying has become one of my favorite food-preservation methods.
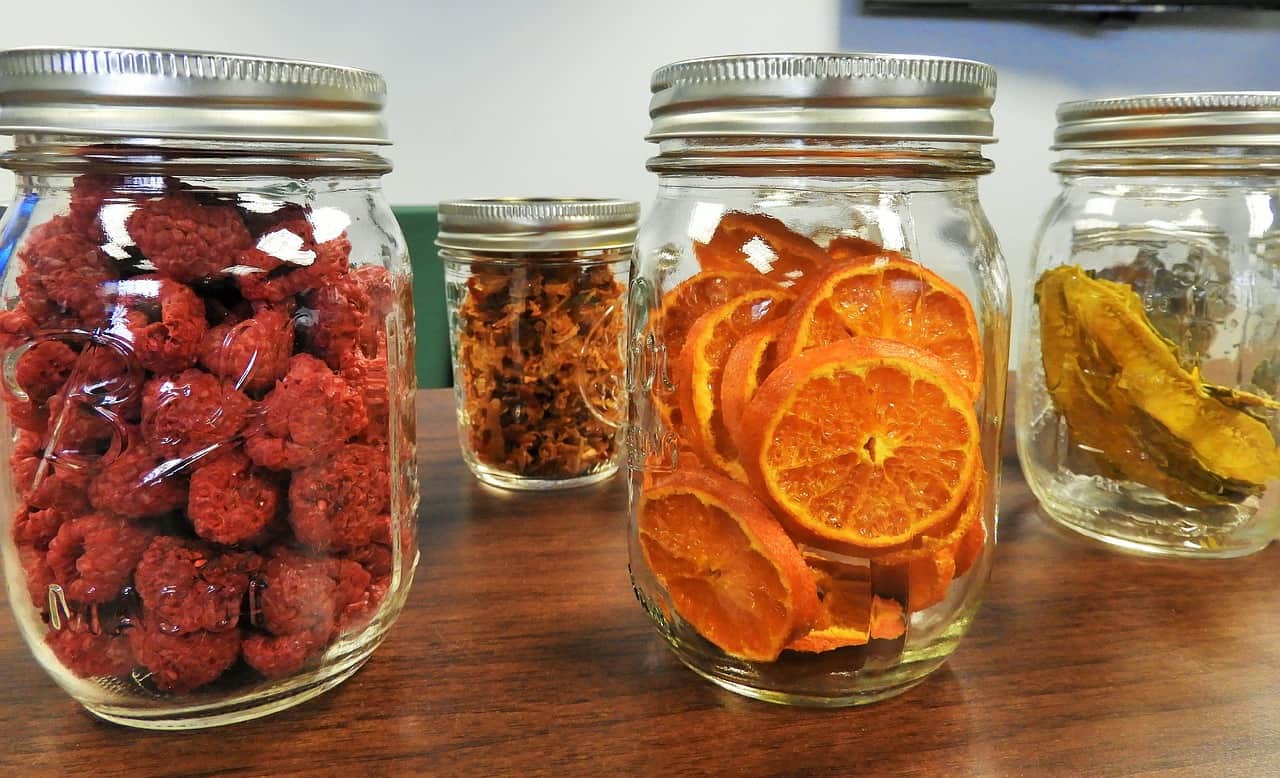
Oven drying, using either a conventional gas or electric oven, is a good choice if you are drying for the first time, want to make beef or other meat jerkies or only want to do occasional drying. After drying a few foods, if you want to dry larger amounts or dry foods more often, consider using a solar dryer.
Solar drying utilizes a collector, which traps heat and makes it possible to dry foods in any climate. The collector is a specially designed covered box that increases the drying temperature and maximizes air circulation. You can find do-it-yourself instructions here and in our more comprehensive article.
The general process for drying foods is to preheat your dryer. If using an oven, set to the lowest temperature setting. Ideally, you want to maintain an oven temperature between 125 degrees Fahrenheit and 145 F during drying, but a temperature below 200 degrees Fahrenheit will work. (Most ovens’ lowest setting is 170 degrees.)
Place food on drying trays. Dry until foods are wrinkled, have shrunk considerably, are no longer sticky and have no visible moisture when squeezed or cut. Dry until pliable for snacking, or until brittle for longer storage. Cool 30 minutes or until no longer warm. Remove food from drying trays. Store in an airtight container in a cool, dry place.
Cellaring produce
Cellaring is the process of storing foods in optimum condition for an extended period. A food cellar does not have to be a stand-alone building or a root cellar in a dirt-floor basement. Today’s modern “root cellar” is the refrigerator.
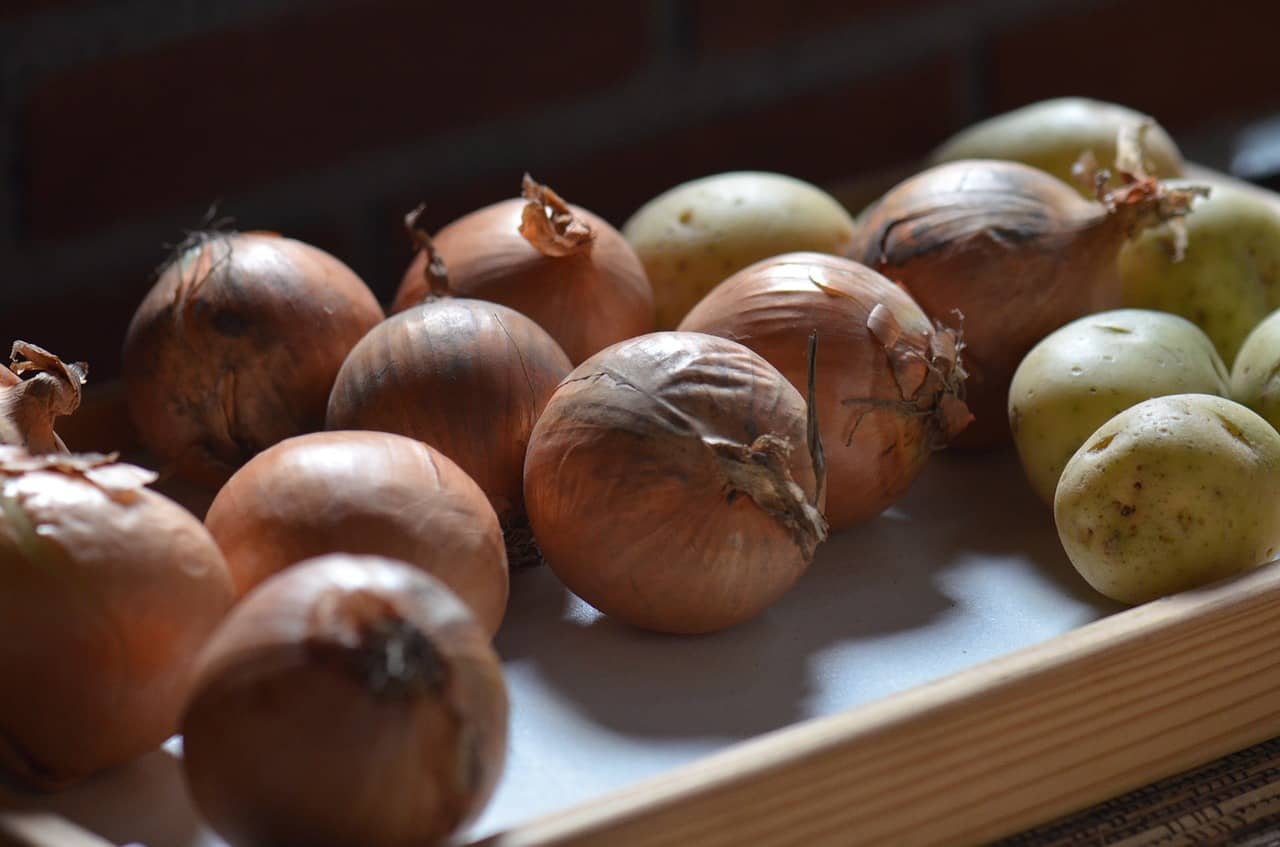
Here’s the ideal temperature and relative humidity for storing onions and potatoes.
Before you store onions, sort them for quality and firmness. Use bruised or softer onions first. Keep firm onions in separate containers and plan to use them last. Store onions in a cool, dry location.
Store firm, unblemished potatoes in complete darkness, such as inside paper bags, covered wooden boxes, tin pails or buried in dry sand. Sprouting indicates the potatoes are too warm or are stored next to apples or onions. Store potatoes in a cold, dry location.
Root crops suitable for indoor storage include beets, carrots, celeriac, parsnips and salsifies. Store root crops in cold, very humid locations.
Making your own vinegar from food waste
Vinegar is often made by fermenting cider or wine. However, it is also a good way to use peels and trimmings from just about any produce. People around the world make vinegar from a variety of ingredients, including coconut water, palm tree sap and cane juice. Good vinegar is pleasantly tart and redolent of the raw material used to make it (such as apples or oranges).
When making vinegar, use wine, ale, cider or mead yeast. Bread yeast does not produce a good hard cider, wine or vinegar.
The basic process for making vinegar from produce trimmings:
Dissolve 5 to 15 grams yeast in a small amount of tepid water in a clean and sterilized glass jar, one quart or larger.
Wait at least 10 minutes to ensure yeast is beginning to foam.
Add 3 cups distilled water and 6 tablespoons sugar; swirl until sugar dissolves.
Add 1 cup clean, thinly sliced fruit or vegetable peels (for example, potato, apple, orange or pineapple).
Cover jar with a clean piece of cheesecloth (or a towel) and store at warm room temperature (70 F to 75 F), away from light (for example, in a cupboard).
Full acetic fermentation usually takes 2 to 4 weeks. If desired, filter vinegar through a coffee filter or two to three layers of damp cheesecloth. Use within 12 months.
If you liked this post, you may also like:
Preserve food with cheap canning equipment and free recipes
How to keep spring veggies fresh to avoid food waste
How to keep summer veggies fresh to avoid food waste
How to keep fall fruits and vegetables longer
How to store winter fruits and veggies
How to preserve and avoid wasting fresh fruit
For more information about food preservation methods and recipes, see The Home Preserving Bible by Carole Cancler.

