We love ideas for cheap homemade toys for kids. Creating the handmade toys is a fun project for kids and adults, plus it’s a great way to reuse and recycle household items you already have. Even better, once the work is done, the kids can entertain themselves with a new toy or game that cost you very little to acquire.
Here are 10 ideas for DIY toys, games and kids activities. The simplest kids activities are listed first, followed by ones that require more materials, skill, preparation or adult supervision.
(For more family fun, check out our article on game-night favorites for every age.)
1. Homemade jigsaw puzzles
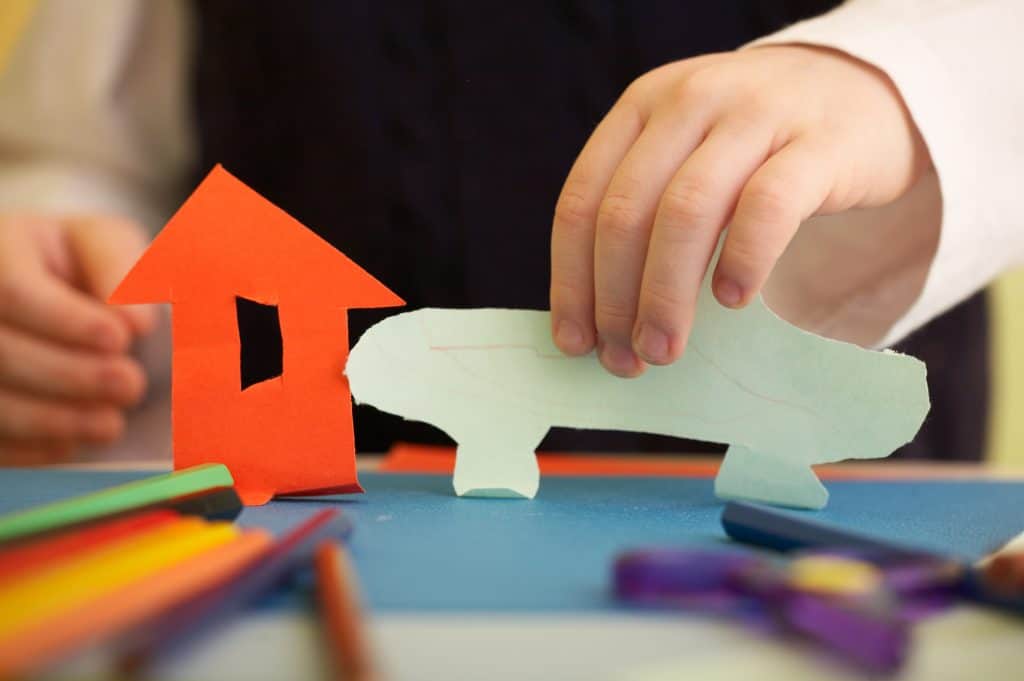
DIY jigsaw puzzles are easy and cheap to make from cereal boxes and greeting cards. Cut the front from a cereal box or greeting card, and then cut the image into shapes. For young children, cut the puzzle into four or five simple pieces, with mostly straight edges (squares and rectangles). For an older child, cut more pieces and make the shapes more intricate (angled cuts and random shapes with many edges).
If you have blank pieces of cardboard from a shipping box or the back of a pad of paper, have the kids draw their own picture, then help them cut it into puzzle shapes. That’s two activities in one, with no money spent by you!
2. Homemade puppets
Making puppets is two times the fun. Puppets can be made from materials around the house and then can be used in storytelling and pretend play.
Two-dimensional puppets can be made very simply from construction paper cutouts taped onto a holder, such as a thin wooden dowel, popsicle stick, sturdy twig, fork, chopstick or wooden spoon. Alternatively, draw characters on paper or cut them out of magazines, and then glue onto cardboard before securing to a holder.
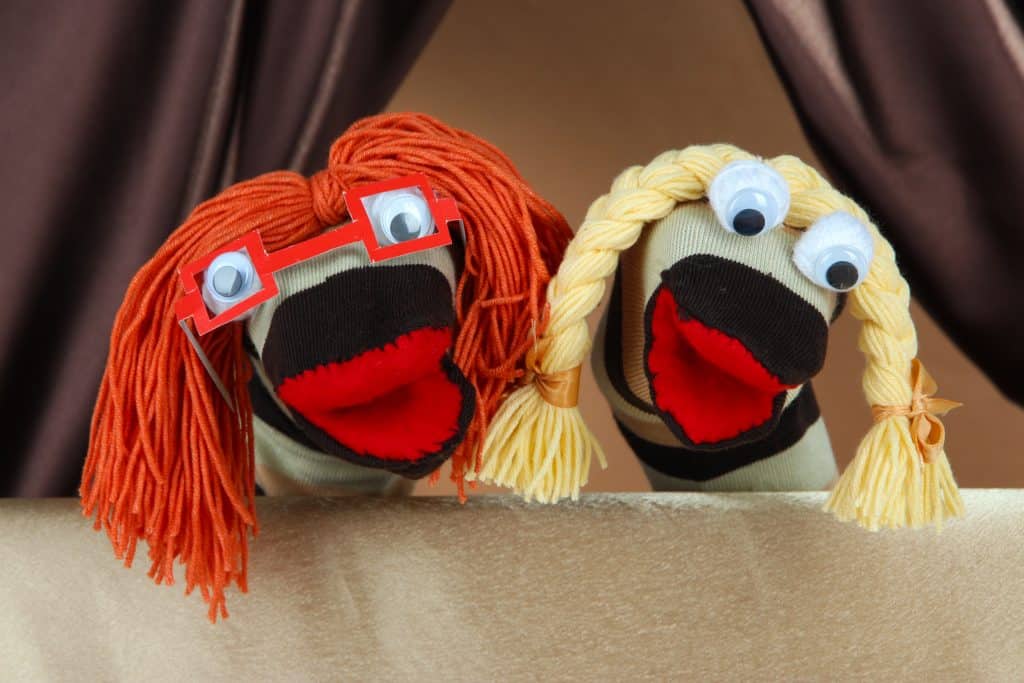
Three-dimensional puppets can be made using simple household items such as tennis balls, wooden spoons, socks, potatoes, paper cups or even a letter-size envelope. For these puppets, you might use thumbtacks for eyes and corks for noses (stick on with tape), or write on paper with a marking pen. Use yarn or curling ribbon for hair, and rubber bands to secure cloth and form bodies and hands. Doll clothes and hats can provide more personality and props.
With a little glue and some felt pieces, buttons and/or googly eyes, you can turn old socks and knit gloves into hand puppets. Brown paper lunch bags can be drawn on or decorated with construction paper and turned into hand puppets; use the folded bottom as the mouth. You can even make marionette animals out of toilet paper rolls and string.
For a little inspiration in puppet-making using household items, watch this vintage show on YouTube showing Jim Henson making puppets. This 15-minute show originally aired on public television in 1969, before Henson joined the then-fledgling Sesame Street television show. Eventually, Henson helped create some of the most famous puppets of our generation, including Kermit the Frog, Bert and Ernie, Cookie Monster, Big Bird and many more. His advice is simple but timeless, creative, fun and cheap.
For story inspiration, kids can create puppets to reenact a movie, vacation adventure, family history or a story from a favorite book.
3. Homemade dolls
Dollmaking is another fun kids activity. We found instructions for several types of dolls using leftover fabrics, socks and corn husks. Try these sites:
- Primitive dolls. Ideas and materials for making folk art dolls.
- Corn husk dolls. Several ideas for Native American corn husk dolls. Dried corn husks can be purchased where Hispanic groceries are sold and soaked until pliable for doll making.
- Sock dolls. These easy sock dolls require no sewing.
- Rag dolls. These rag dolls require simple sewing.
- Fabric dolls. Instructions and patterns for charming handmade cloth dolls from Martha Stewart.
- Peg dolls. Buy the simple wooden bodies at a craft store or Amazon (or whittle your own!), then paint their faces and clothes or glue on yarn and fabric scraps.
- Felt dolls. Colored felt and basic sewing skills will get you an adorable felt doll or animal plushy.
Handmade dolls share some of the techniques with puppet making.
4. Blanket fort
Fort building is a quintessential kids activities. The basic fort-building equipment includes two to four sheets or blankets and something to help create structure. Figuring this out is part of the fun. An adult should usually help at this stage, especially if there is a need to move large furniture or to approve the use of materials.
For the basic fort structure, a large table is ideal, but large furniture, a cardboard box, an ironing board, a camera tripod or high-back chairs are also useful. Simply drape the sheets to create the basic fort. You can also hang a sheet over a clothesline or rope, if you can tie it to something sturdy. Or tape one edge of the sheet on a wall using duct tape or blue painter’s tape, and then tape it to furniture a few feet away. Just be sure to test a piece of tape in an inconspicuous area first. You don’t want to remove paint or the finish on a piece of furniture. Other options for securing sheets to objects (or each other) include clothespins, safety pins or large binder clips.
Inside the fort, put a blanket on the floor. Pillows or chair cushions can create comfy areas for sitting and lying in the fort. Add other decor, such as cutout foil stars taped to the “ceiling” of the fort, or a strand of holiday lights. Flashlights or glow sticks also create an interesting aura.
5. DIY spin art maker
Spin art is one of those favorite camp and school art projects that kids love but requires a special machine. Or does it? Crafty moms have figured out how to create spin art at home without buying a dedicated device.
The easiest option involved an old CD or DVD, a marble and a marker cap. Or you can put your paper in a salad spinner, squeeze on some paint and give the whole thing a whirl. With some adult supervision, you can also repurpose an old box fan or drill for your spin art machine.

6. DIY marble runs and mazes
Marble runs and mazes are fun for all ages. Little kids are amazed watching the marbles race along the slides and tubes, while older kids enjoy building their own mazes in creative and complicated ways. You don’t need to buy the expensive marble run kits with their plastic tubes and supports. You can build your own homemade version with items you have at home and in your recycling bin.
With a marble maze, you create a Pacman-style obstacle course and see if you can get your marble from one end to the other in record time. You can make a homemade maze using a shallow cardboard box or box top and straws, play dough or Legos.
Marble runs are more like race tracks or slides for marbles. The simplest homemade marble runs need only toilet paper or paper towel rolls, a basket, an empty wall and some painter’s tape. (Don’t want to use the wall? Get a pegboard and some paper fasteners instead.) With additional recyclables, you can create an even more elaborate race track. Get creative with whatever you have on hand; wooden blocks and train tracks or pool noodles cut in half make great slides for your marble collection.
7. Motor skills toys
You can easily create toys that work on kids’ motor skills and spatial reasoning while they play.
The easiest is to make your own cardboard stackers. Your child can build all kinds of towers and 3D creations with a set of these easy cardboard building pieces. Have your kids help you make them; it’s good scissor skill practice.
If you can pound some nails into a spare piece of wood, you can create a DIY Geo Board. Make evenly spaced rows of nails in a wooden board, then give your kid rubber bands to wrap around the nails to make crazy shapes and patterns or even cool geometric art. Colored yarn would be a next-level option instead of rubber bands.
Finally, if you’re handy with woodworking, you can make a homemade wire sculpture bead maze, like the toys you always see in doctors’ waiting rooms. Older kids can help you thread the beads then twist the wire into fun designs; your toddler will be happy to simply the push the beads along the wire.
8. Homemade play dough
One batch of homemade play dough (also called salt dough) can be mixed from common household ingredients. Each batch costs less than $1 and makes the equivalent of 2-3 cans from the store, or enough for one child for 1-2 hours of play.
Cooked play dough: Place 1 cup flour, 1/2 cup salt, 2 teaspoons cream of tartar or citric acid (both are available in the bulk bin or spice aisle at grocery stores or at stores selling candy making supplies), 1 cup warm water, 1 tablespoon vegetable oil and food coloring (see ideas below) in a saucepan. Place pan over low heat and stir ingredients until smooth. Continue stirring until mixture thickens. Keep stirring until the dough pulls away from the sides of the pan. Eventually the dough will become one solid ball that is no longer sticky. Remove pan from heat and allow to cool 30 minutes, or until dough can be handled comfortably. Massage the dough and form into a smooth ball.
Uncooked play dough: In a bowl, stir together 1 cup flour, 1/2 cup salt, 2 teaspoons cream of tartar or citric acid and 1 tablespoon vegetable oil. Slowly add 3/4 cup boiling water, stirring until combined. Mix until a dough forms that is neither too mushy (needs more flour) or too stiff (needs more water). Place dough on a large piece of foil. Add liquid or paste food color and knead (massage) using your hands until color is evenly distributed. Form dough into a smooth ball.
Food coloring ideas: Use several drops of liquid food coloring or several pinches powdered/paste food coloring (available at candy making supply stores) OR one package unsweetened powdered drink mix, such as Kool-Aid, which makes dough with vibrant color that also smells fruity.
Other optional ingredients: Add a few drops of essential oil to the mixture to make a play dough with a pleasing fragrance. Add a tablespoon of glitter with the dry ingredients to make a “sparkly” play dough.
Tips for making play dough: Do measure the ingredients carefully. The oil and cream of tartar or citric acid are optional, but results in a dough that is more elastic that can be worked and stored longer without drying out. Store play dough in an airtight container until ready to use or between play periods. Play dough made with oil and cream of tartar or citric acid keeps in an airtight container for about six months. If you live in a humid climate, store it in the refrigerator.
9. Homemade wood blocks
Wood blocks are a classic toy that every kid can enjoy. Buying a set of wood blocks can be fairly pricey. If you own a few tools and know how to use a hand saw and drill, you can make a set of wooden building blocks for around $10, or next to nothing if you make them out of scrap wood. We found detailed instructions online for making handmade wooden block sets.
- The Created Home offers instructions on how to DIY Wooden Building Blocks from scrap wood.
- HowStuffWorks.com offers detailed instructions on How to Make Wooden Blocks from new pine wood for around $10.
If you want to get even more creative, you can carve your wood blocks into different shapes, then trace those shapes on a piece of cardboard that you place over a box or plastic bin to make your own shape sorter for toddlers.
10. Homemade radio
This science project is advanced and generally requires some preparation. You might source the materials and keep them, along with the instructions, in a box to pull out at an appropriate time.
- Sci-toys.com contains all kinds of science toys you can make with your kids, including a section on radios. For a first radio project, try the “Radio Out of Household Items” or the “Quick and Simple Radio.”
- Instructables.com has a page on building a Bottle Radio, one of the cheapest ways to listen to music.
Teenagers might be especially interested — and amazed — by these radio technology projects.
Use these cheap kids activities and homemade toys whenever boredom strikes and weather keeps them inside. The creativity used to source materials for handmade toys is as much fun as the activities themselves.
If you liked this article, you may also like:
- 7 cheap and simple water toys
- Top 10 DIY outdoor toys and summer activities for kids
- How to make a rubber-band-powered boat


