What is the cheapest pedicure? The one that you can do yourself! When you are looking for amazing pedicure results, taking it slow and treating your toes at home can be key!
I love the look of a pedicure. Be it a shiny color or a beautiful design, a pedicure makes me think of carefree, barefoot summer days. You may not be able to get out to the salon for a pedicure, but that’s no reason to neglect your feet. They’re still dealing with all the walking, running and pounding you subject them to daily. I say they need some TLC.

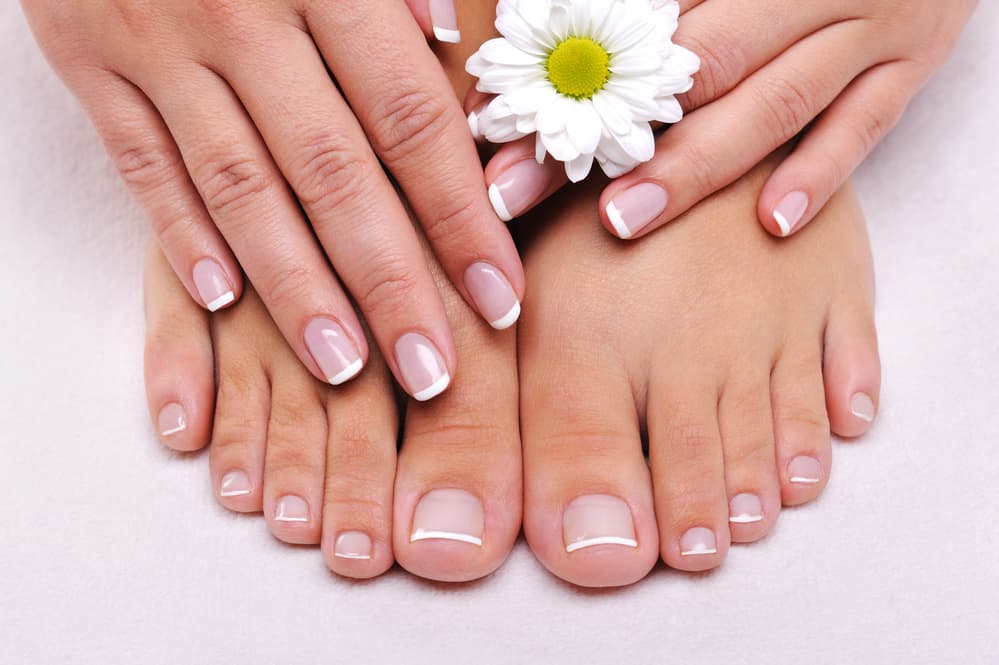
Photo: Deposit Photos
Natural pedicure ideas
With a few simple tools and ingredients (most you may already have), you can easily recreate the comfort and beauty of a pedicure in your own home.
First things first — you need to remove your old polish. Sure, you probably know how to do this, but I have to share this great technique for five-minute nail polish removal, plus it only uses one cotton ball. How’s that for saving money?
If you tend to use a lot of dark-colored polishes, after removing polish you may find your nails stained. If so, here’s a simple method to get your nails back to their natural color.
Simple pedicure Tips
Next step: shaping. Toenails are much less complicated to get into shape than fingernails. Basically just trim them straight across (trimming too much into the corners can lead to ingrown toenails) and then file until smooth. To prevent weakening your nails, file in one direction only.
The warm soak your tootsies get at the salon is not only relaxing but is also meant to help soften dead skin to make it easier to remove. This helps get your feet from dry and cracked to baby-soft. There are lots of foot-soak recipes online but most use the same basic concept.
To start with you’ll need a tub for soaking, a towel nearby for drying and a nice relaxing place to sit and, well, relax. I like a skin-softening soak followed by an overnight moisturizing routine. You may choose to do or not do the overnight part, but it will help. You may also choose to soak, then complete the pedicure and then do the overnight moisturizing.

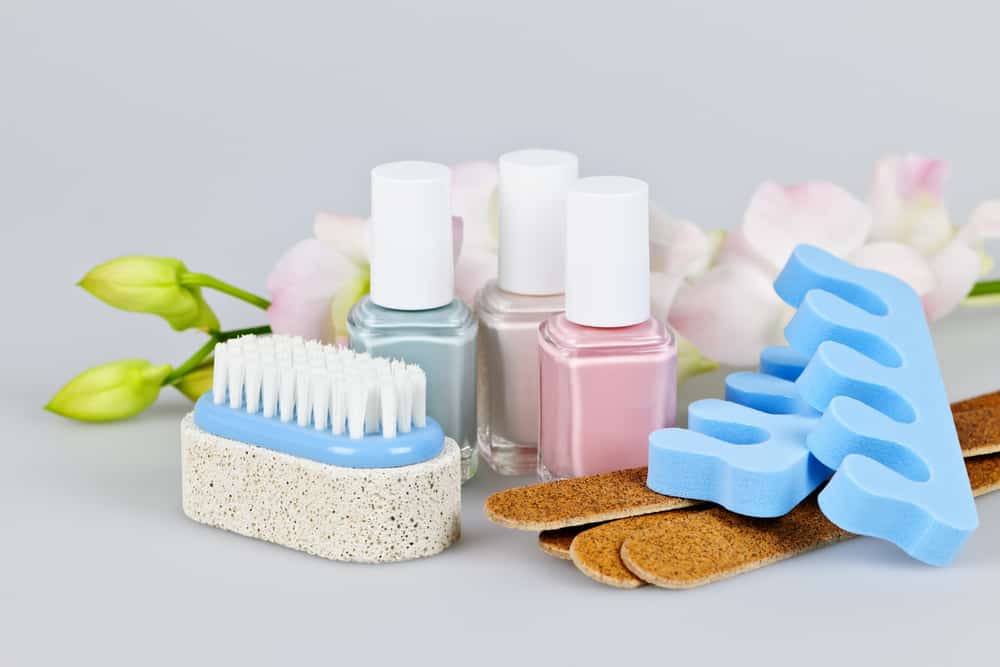
Photo: Deposit Photos
Keep in mind, those calluses and cracks didn’t get there in one day. It may take more than one soak/moisturizing cycle to see decent progress. This Listerine-based soak (yes, the mouthwash) is quite popular on Pinterest. To be honest with you, I’ve not yet summoned the nerve to try it, but many folks swear by it for clearing up athlete’s foot.
After you soak, while your feet are still damp, you have your best chance to get rid of the dead skin. You can use a simple pumice stone that you can buy at your local drugstore in the nail-care department. With a moderate pressure, rub the pumice stone in circles over the callused areas, especially heel and ball of foot.
DIY pedicure for rough feet
You may also choose a scrub. Some scrubs help moisturize as well as remove dead skin. This brown sugar scrub is incredibly easy. Another simple scrub is mixing a tablespoon of white sugar with a tablespoon of baby oil gel. I recommend doing your scrub over your soaking tub. That way the scrub falls into the tub and you can easily dunk your feet back in to wash the remaining scrub off. Pat dry with your towel and you’re ready to paint.
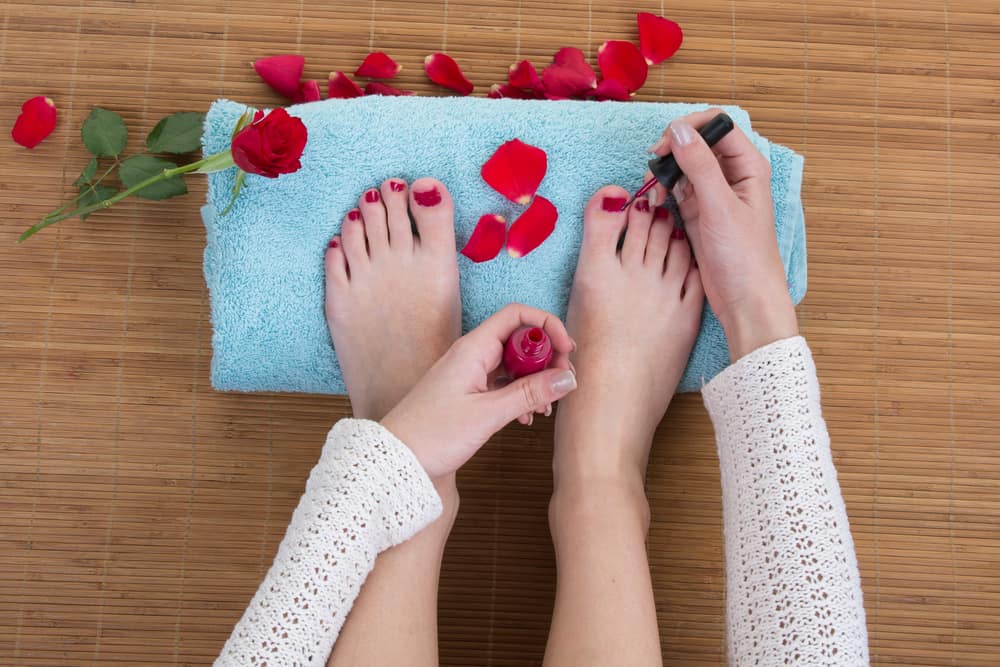
I find the problem with DIY nails is the extra polish that manages to find itself all over the skin of my fingers and toes. To help prevent that, take a cotton swab dabbed in lotion or petroleum jelly and rub it on the skin around your nail (not on the nail itself). When you’re done painting, simply wipe off the petroleum jelly and with it the nail polish.

Photo: Deposit Photos
Cheap pedicures or fancy ones?
The choice is yours to do a simple color or try a more elaborate design. Either way, start with a clear base coat to help the polish adhere better and help prevent staining. If you’re looking to do a bit more than a basic color, Pinterest is loaded with ideas — some easier than others. You can do a simple polka dot design by first coloring your nails a bright or dark color and then using the head of a pin dipped into a lighter color.
Here are some simple Pinterest ideas you may want to check out. Note that some of these are fingernails, but the designs can be copied onto toenails. If you happen to like glitter nail polish, you know it can be hard to get that polish off. Give this idea for a peel-off base coat a try to help make removal easier.
I tend to lean towards a more natural color pedicure, but that’s just me. Pick and choose the color that you love and let those toes pop!
Once your nails look the way you want, put on a nice top coat to help seal the color in. Now you have beautiful, soft feet — and your wallet is not lighter than when you started.
For more Living on the Cheap articles you might like:
