Every year throughout December our family does a Christmas countdown calendar. It’s full of activities like making cookies with Mom, swimming with Daddy, driving around town looking at Christmas lights, and 21 more. One of those activities is always making homemade ornaments for our tree and as gifts.

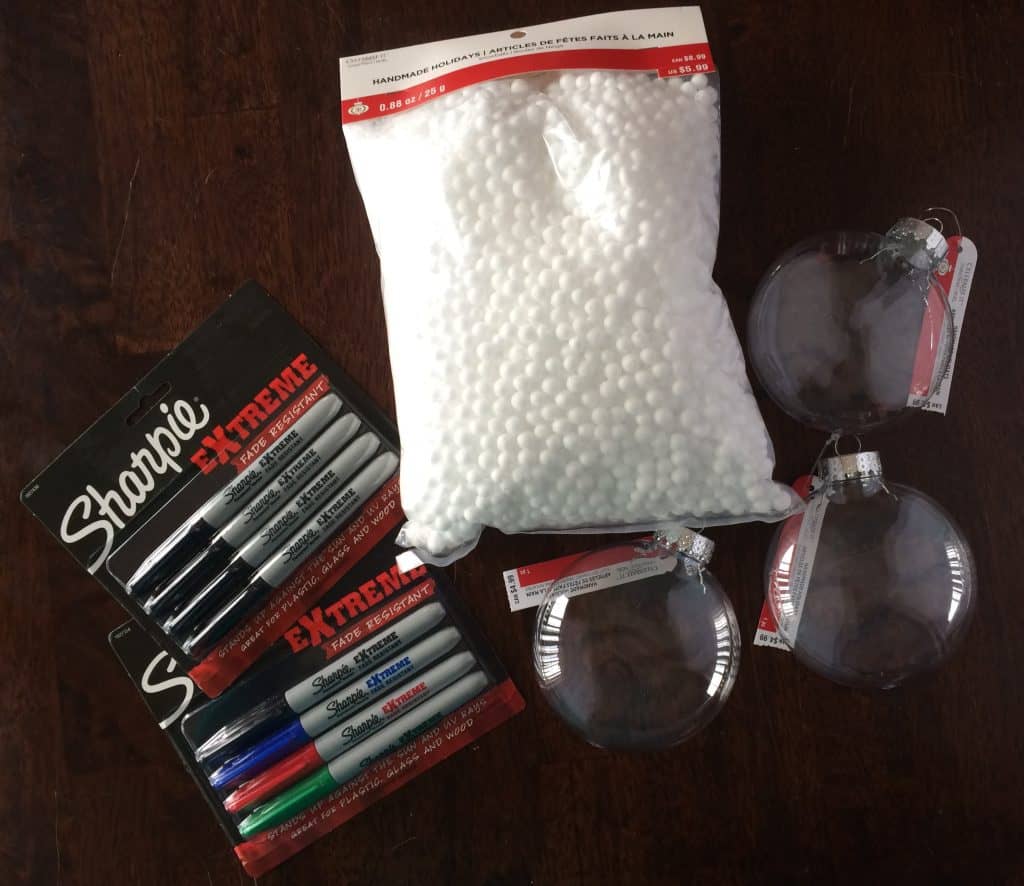
This year I was generously given some Sharpie Extreme markers to try out and I decided to put them to use making our ornaments. Sharpie Extreme markers are the same permanent markers we all know and love and more.
They come in four bold, high-contrast colors that resist fading when exposed to UV rays, rain, snow and mud. This makes them great for labeling sporting goods, water bottles, and more. Their tip is fine and is excellent for drawing on most surfaces, including plastic, glass and wood.

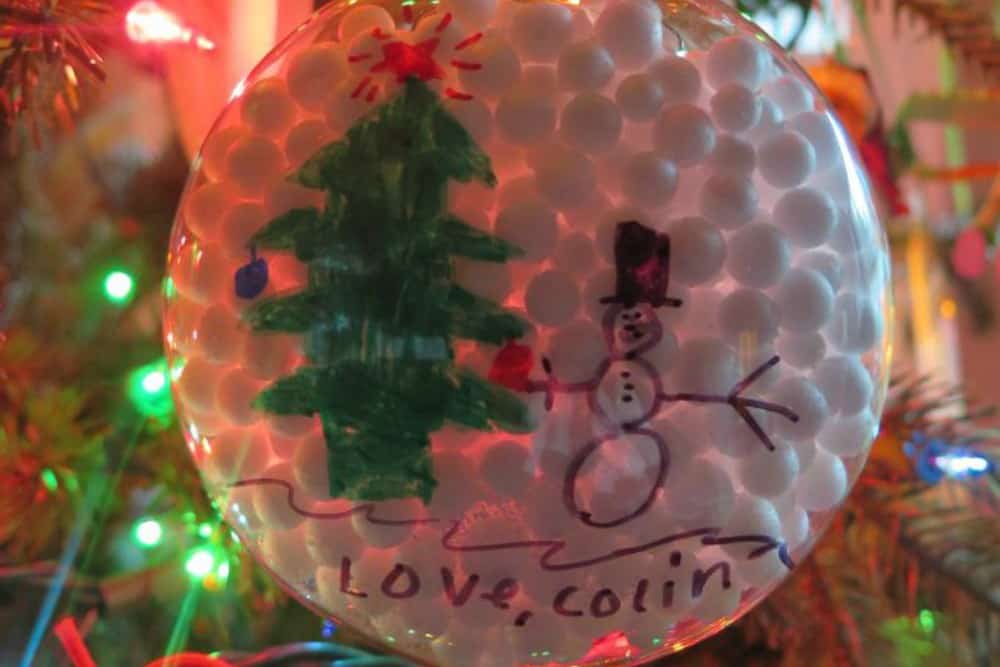
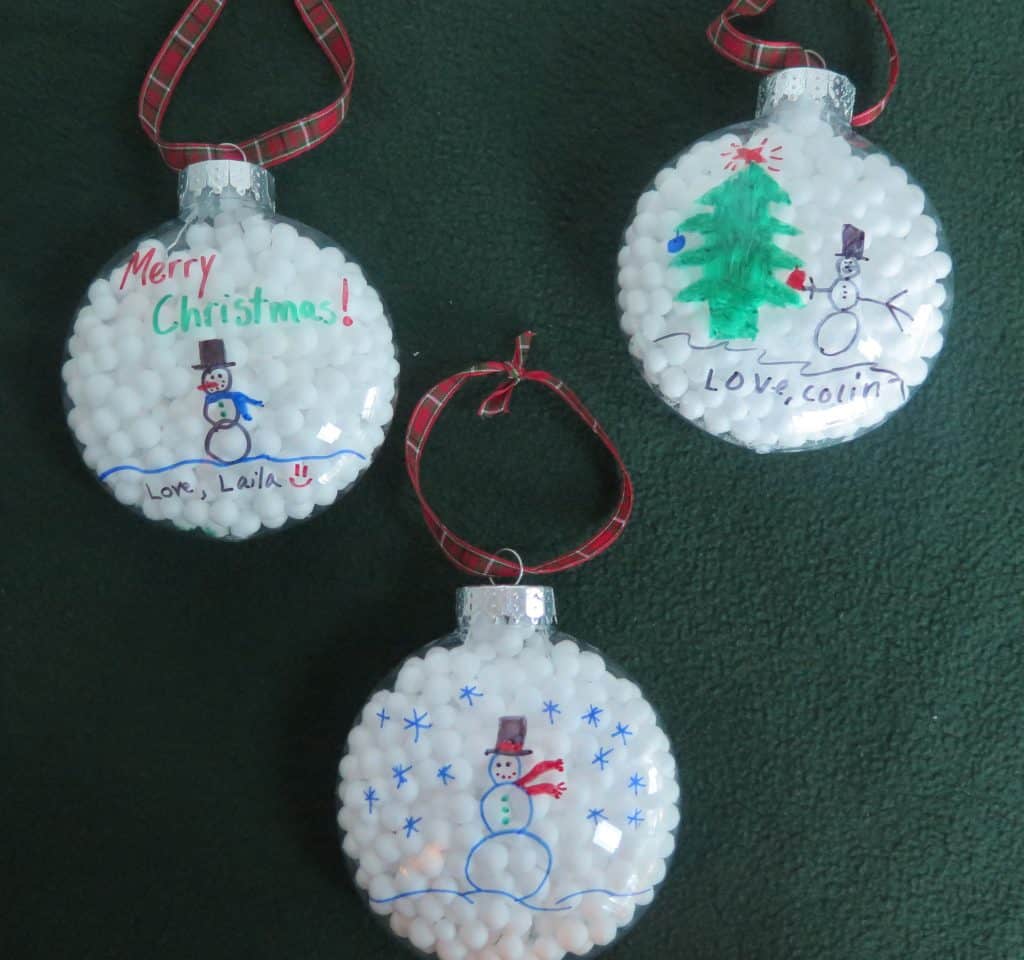
For our ornaments, I chose plastic as our base — with kids, non-breakable is always a good idea. I had a snowglobe-ish image in mind when I came up with these. I started with clear, round plastic ornaments from Micheal’s for just $1.49 each.
Then, I found these cute little mini balls that resembled snowballs to fill them with–a whole bag was just $2.99. A roll of holiday ribbon was just $1.19. It brought my grand total for five ornaments to just over $12.
Plus, I have plenty more ribbon and mini snowballs to make more — which I plan to do because the kids and I had so much fun making our first batch.
Step-by-step instructions
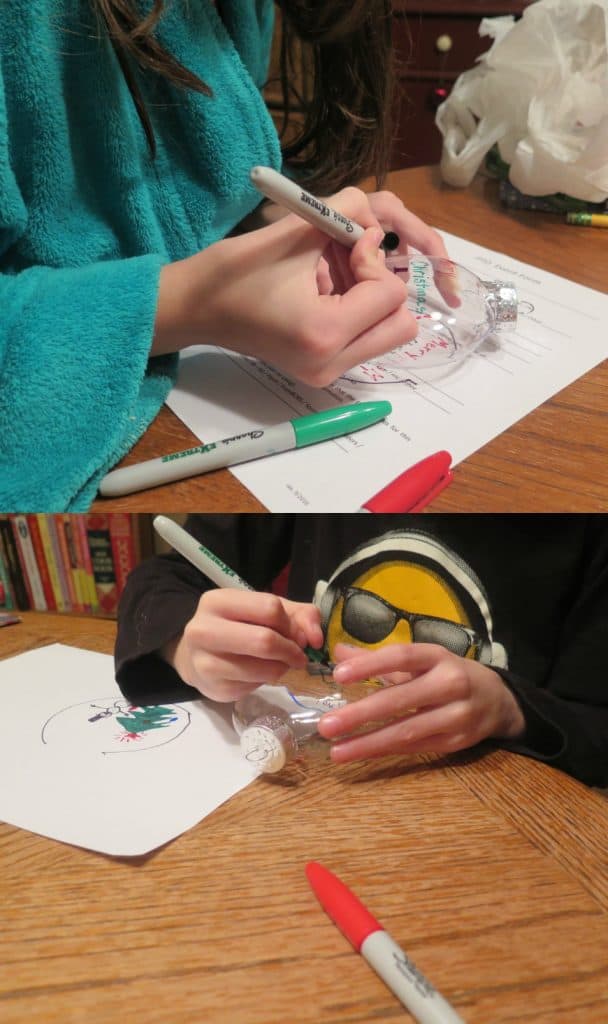
First, I traced the ornaments on a piece of white paper for all of us to do a dry-run of our design. I wanted to me sure each of us liked our design and it would fit on the ornament. Then we moved on to the real thing and started drawing our designs on our globes.

For the grandparents’ gifts, each child drew a picture on one side of the ornament. Even with our dry run, mistakes happen, but never fear. We used a sure-fire trick to “erase” permanent marker. Take a dry erase marker and draw over your mistake with it.

Grab a napkin or paper towel and wipe it off. That usually does it for me, but with dark colors sometimes there’s a bit of residue. If that happens, simply repeat the process.
Once you’re happy with your designs, carefully pull of the top of the ornament. Fill each one with the mini snowballs, then replace the top. Tie a piece of ribbon on top to hang it from and you’re all done.
If you liked this article, you may also enjoy:
Thoughtful holiday gifts on a budget

