The Halloween season is upon us, making it the perfect time to get started on ghoulishly good crafts and cheap Halloween decorations. Gather some items from around the house, stop at a craft store with a coupon for the rest, and you can make your house spooky on the cheap or dress up your spooktacular Halloween party!

Decorated wine bottles
These decorated wine bottles provide joy twice – once when you drink the wine, and again when you decorate with them for Halloween. They are simple to make and require just a few materials. You could even paint full unopened bottles of wine to give as gifts or serve at parties. Just keep the rim of the bottle and cork area protected from paint or chemicals.
- Wine bottles (green for pumpkins, clear for ghosts)
- Painter’s tape
- Spray paint (orange for pumpkins, white for ghosts)
- Black paint or paint pens
Prep Bottles: Clean the bottles and remove the label from the empty wine bottles by soaking in hot, soapy water. Peel off as much label as you can, scrubbing with a sponge or paint scraper. Remove the glue either using vinegar or Goo Gone. I find that wetting a doubled-over paper towel in white vinegar and sticking it to the gluey area for a couple of hours usually loosens it enough to rub the rest of the glue off.
To make face: Wrap painter’s tape around the neck of the bottle, stopping where the base begins to curve towards the neck. Use a marker or pen to draw jack-o-lantern or ghost eyes and mouths on the tape. Lay the bottle face-up on a towel and carefully cut around the face markings with an X-Acto knife. Peel off the surrounding tape so the eyes and mouth pieces are stuck to the bottle. In the alternative, you can cut pieces of painters tape into shapes for the eyes and mouths and place them on the bottle, but the more you handle painters tape, the more likely paint will bleed under the edges from losing stickiness. You can also just paint the eyes and mouths with black paint after you spray the bottles the appropriate color.
Spray the base of the bottles up to the stem with orange spray paint for pumpkins or white spray paint for ghosts. Allow to dry until no longer tacky and remove the tape. If you’re painting in the faces after the bottles, dry at least 1 day before painting on faces with black paint and a paintbrush.
Giant spider
Hang this giant spider from a homemade or purchased web, or set it somewhere for an unexpected shock. 
- 1 bamboo skewer
- 6-inch craft foam ball
- 3-inch craft foam ball
- 8 black pipe cleaners
- Black spray paint
- Fishing line or thin sturdy string
Insert skewer through center of each foam ball for the body and head.
Spray the entire spider with a thin coat of spray paint to prevent paint drips. Allow to dry and apply a second coat for more coverage.
Once dry, insert four of the pipe cleaners into each side of the spider body. You may need to start a small hole with another skewer or something thin to get the pipe cleaners inserted. Bend each leg halfway down the pipe cleaner and bend the tops of the pipe cleaners for feet.
Cut the length of fishing line you’ll need to hand the spider where you want it. Tie the line around the skewer between the spider head and body and hang. If the foam balls start to slide off the skewers from pressure from the hanging line, you can add some glue to the skewer to keep the spider body and head in place.
Jack-o’-lantern toilet paper roll
These will add a little Halloween decoration to your bathroom, and the toilet paper rolls can still be used after the holiday is over.
- Roll of toilet paper
- 1 piece of orange tissue paper
- Small piece of green tissue paper (or other green-colored paper)
- Black paper or marker
- Small pieces of raffia, optional
Roll up the toilet paper roll in the sheet of orange tissue paper. Tuck the ends of the tissue paper into the top and bottom hole of the toilet paper roll, smoothing the paper on the roll (you can trim the excess if there’s too much to tuck in the ends).
Twist and tuck a small piece of tissue paper into the hole in the top for the stem. You can also tuck some small pieces of raffia along the stem if you have it on hand.
For the face, cut jack-o’-lantern eyes and mouth out of black paper and glue to the pumpkin. Or, simply draw the pumpkin face on the tissue paper with a black marker.
Graveyard

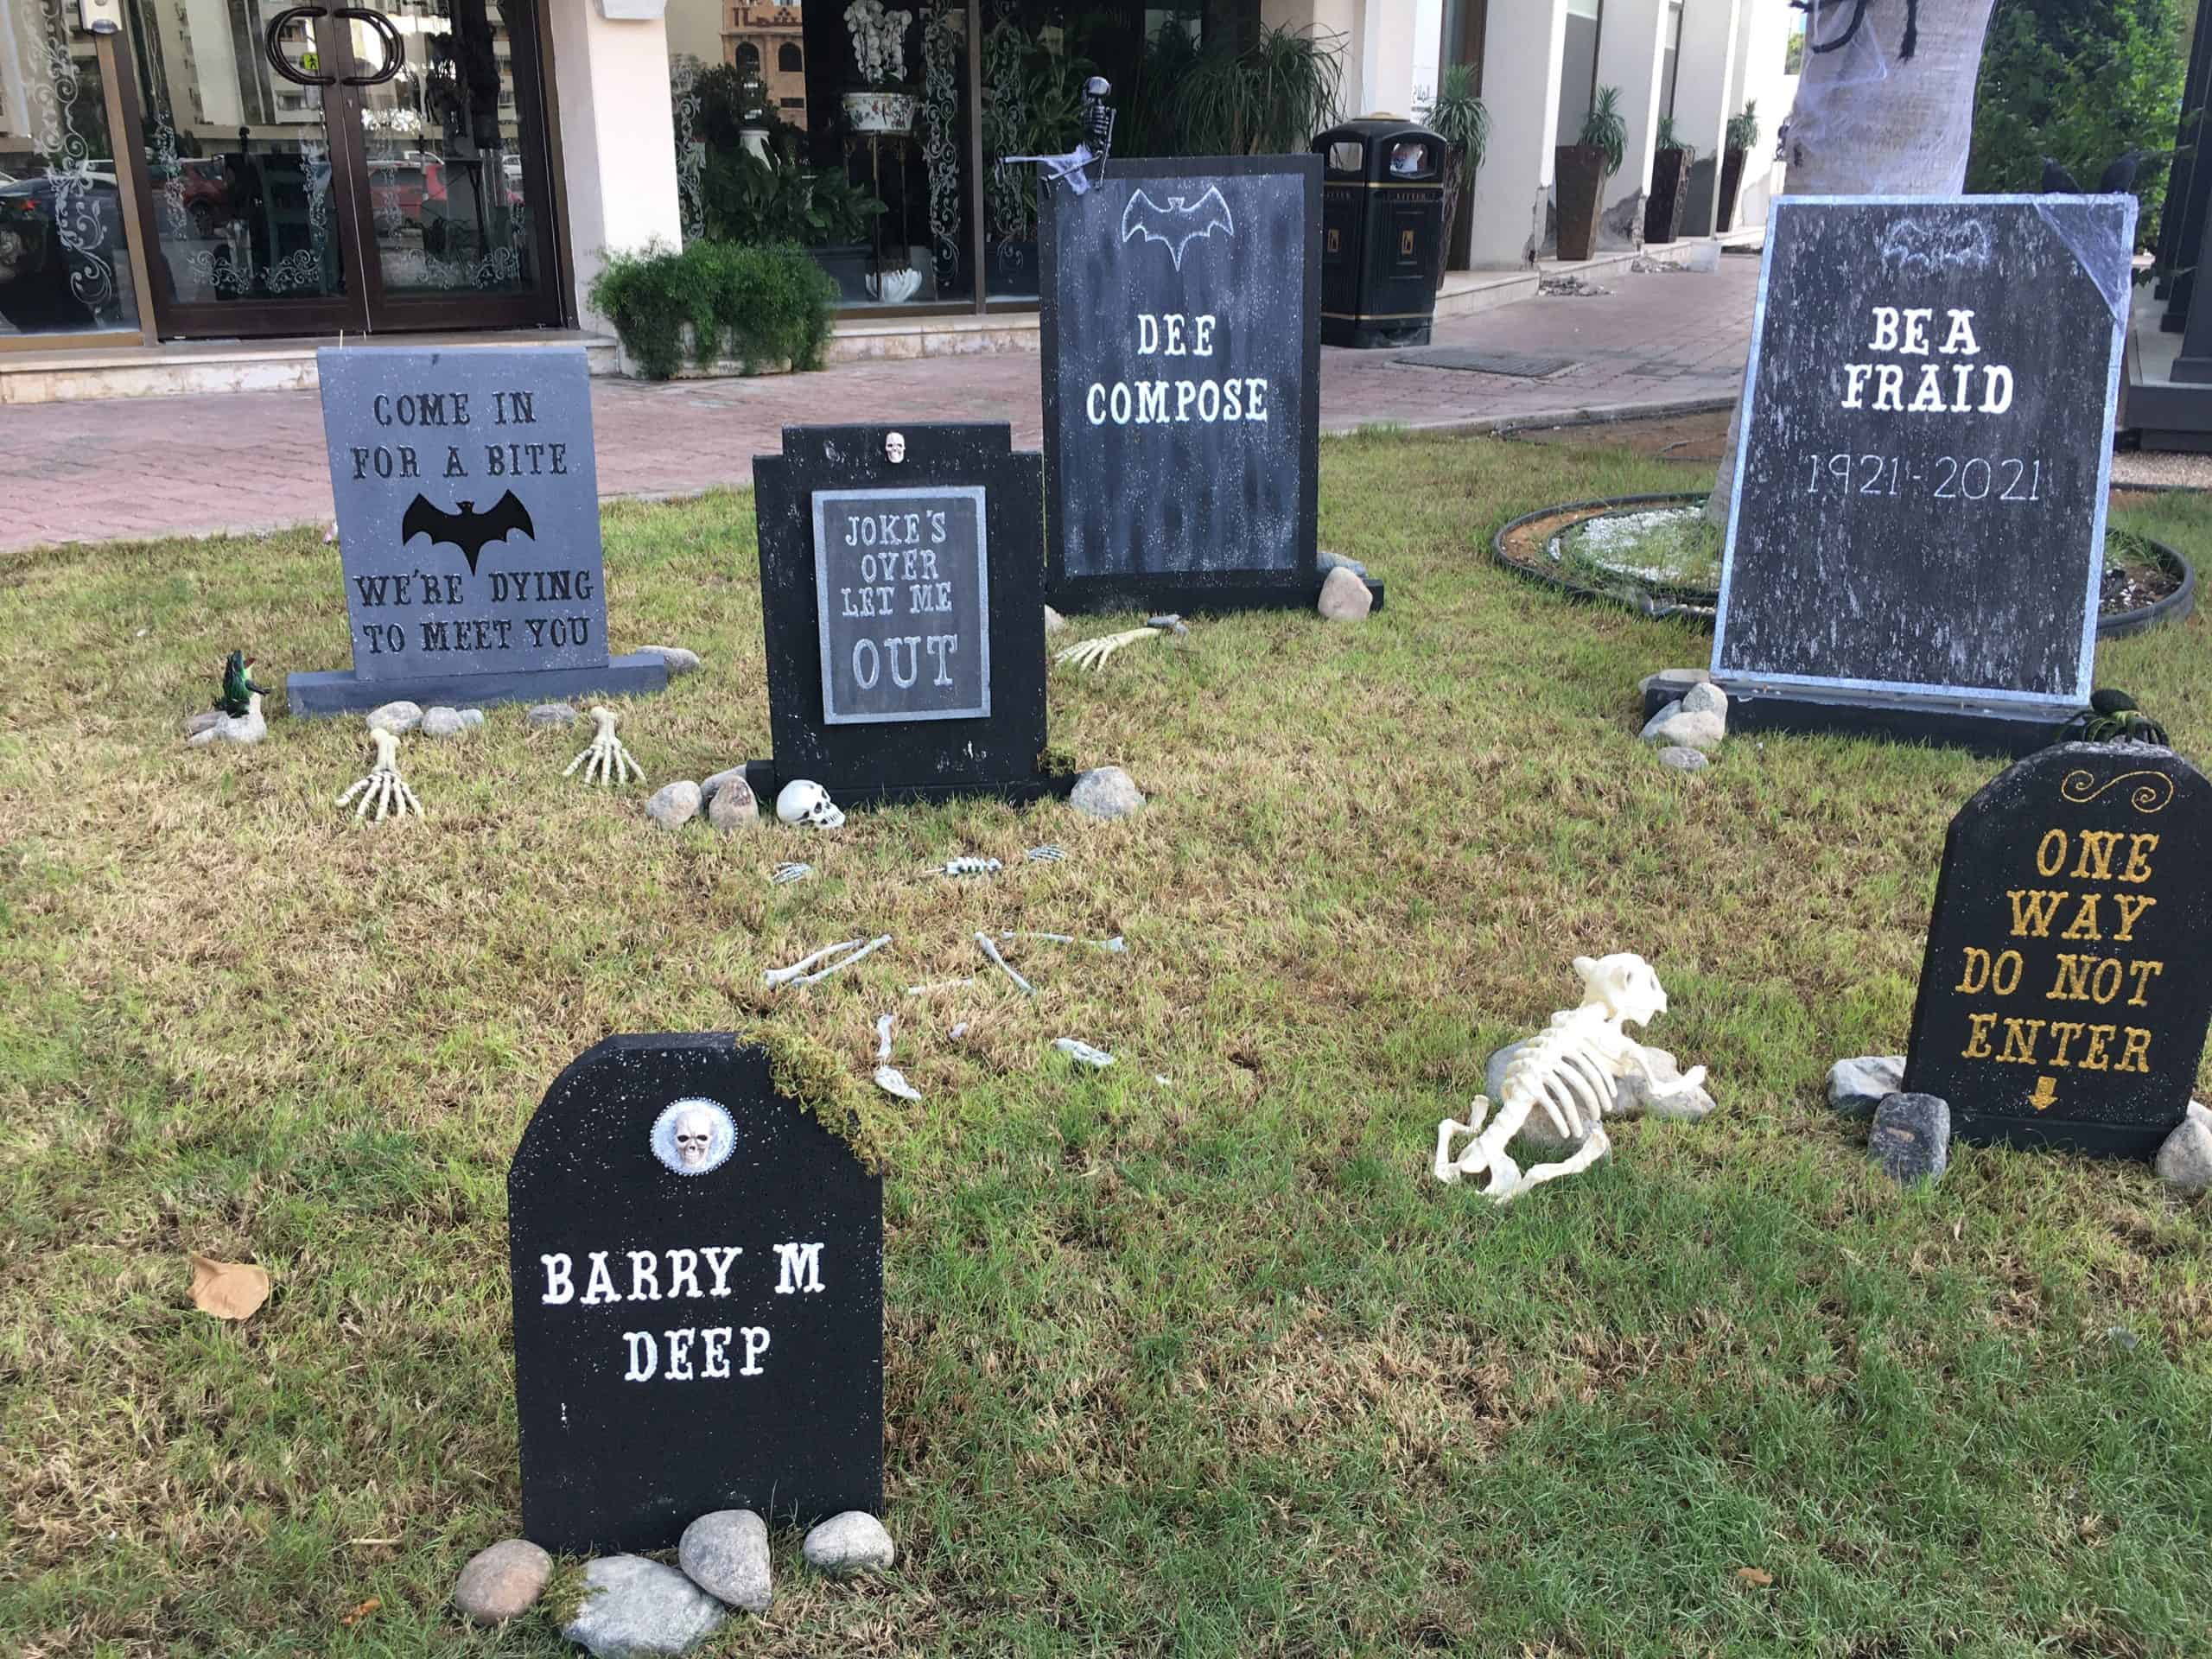
Photo: Photo by Dr. B. Carino/unsplash
Make a small graveyard in your yard or garden with a few simple materials. Get creative with the names and epitaphs that you personalized the gravestones with. Make them spooky (characters from scary movies) or funny (Izzy Dead, Rigga Mortis, Dawn Under, Justin Pieces).
- Styrofoam sheets, foam board, or cardboard (the foam board and cardboard will only last one season if they are exposed to the elements)
- Sharp knife or small saw
- Light gray or silver spray paint; textured “stone” paint will look more authentic and can be purchased with coupons at craft stores.
- Stencils, if desired
- Black markers or paint
- Wooden or plastic stakes (or whatever “stake” material you have around)
Draw tombstone shapes on your chosen material in various shapes and sizes. Carefully cut out the shapes with a sharp utility knife or small saw, depending on the material.
Set the tombstones on a large drop cloth or pieces of cardboard and lightly spray with the gray or silver spray paint. Once dry, add a second coat. If using stone paint, you may want to only use it as the top coat since it’s more expensive.
Stencil on or draw the shapes and words that you want on your tombstone with marker or black paint.
Fasten the stakes to the back of the tombstone with heavy duty glue or tape, depending on the degree of weather exposure you expect and whether you want these to last more than one season. Gently pound the stakes into the ground
If you want these to last through more than one season, choose Styrofoam sheet for the tombstones and outdoor quality paint/markers (and/or a waterproof clear sealer). If you are using foam board or cardboard, moisture may ruin these if they are outside for a long time. You can cover the tombstones with heavy-duty packing tape to help seal out some moisture and add sturdiness.
So, when it comes to where to find cheap Halloween decorations, the answer is in your own house (and maybe with a little help from the craft store.) Enjoy these cheap Halloween decor ideas and let them inspire you to think of even more!
If you liked these easy DIY Halloween decorations, you may also enjoy:
- 4 fun, cheap Halloween alternatives
- Frugal Halloween decor: Create a haunted wedding
- How to make ghoulish Halloween fingers
- Celebrate Halloween for less
- Free pumpkin stencils for Halloween carving
- Ways to save on Halloween candy
- 102+ cheap and easy Halloween costumes

Halloween parties and entertaining
Halloween costumes
Fall and Halloween decorating
- 4 easy and cheap Halloween decorations
- Make a scarecrow from items you have at home
- Build a haunted wedding Halloween display in your yard
- Free pumpkin stencils for creative carving
Halloween food & recipes
- 8 ways to save on Halloween candy
- How to make tasty, ghoulish Halloween finger cookies
- Cute and easy jack-o-lantern cake
- Scary good (and cheap) Halloween party food
Other budget-friendly Halloween ideas
