Here are our best ideas for summer activities for kids that lets them spend summer as it was meant to be enjoyed — playing outside. These DIY activities give your kids the chance to be creative and make their own toys from common household supplies or very modest investment. You don’t have to head to the nearest store for fun — make it at home!

Dancing ribbons
Ages 3+
You’ll need one stick or 1/4-inch dowel between 12 and 36 inches long for each streamer (1 or 2 per child). Cut ribbon 24 t0 36 inches long. Use shorter sticks and ribbons for smaller children. The ribbon can be satin or even lightweight fabric (cut in strips and tied together to create the length) or gift wrapping ribbon. Attach the ribbon to one end of the stick or dowel using rubber bands or packaging tape. Glue is another option, but it needs adequate drying time before the ribbon can be used.
Alternatively, you can attach several ribbons to a shower curtain ring. Make the ribbons dance while standing or moving. Large, smooth circles and arches make the ribbons float gracefully; while short, quick movements cause ribbons to flutter and shake.
- Premium Quality: This thin fabric satin ribbon multipack Made of high-quality satin material, the thin ribbon is silky smooth, durable, and easy to work with for all your crafting needs
- Vibrant Colors: This bulk ribbon featuring 10 beautiful solid colors, including Navy Blue, Purplish Red, Citrus, Orange, Fuchsia, Pink, Maize Yellow, Lemon Yellow, Sky Blue, and Old Gold, adds a pop of color to flower bouquets, crafts,hair bows,gift wrapping, and wedding party decorations
- Versatile Use: This colorful ribbon Perfect for creating bows, embellishing gifts, decorating wedding parties, crafting projects, and more, the rainbow ribbon is ideal for both beginners and experienced crafters
Homemade bubbles
Ages 3+
Most of these bubble recipes use common household ingredients:
- 4½ cups water, 1/2 cup dishwashing liquid and 1/4 cup glycerin (available at drugstores)
- 2 cups water, 1/2 cup dishwashing liquid and 2 teaspoons of sugar
- 1½ cups water, 1/2 cup dishwashing liquid and 3 tablespoons corn syrup
- 1¼ cups water and 1 tablespoon + 1 teaspoon dishwashing liquid
- 1 cup water, 1/4 cup dishwashing liquid, 2 tablespoons light corn syrup OR glycerin
Sugar, corn syrup or glycerin help make bubbles last longer but are entirely optional ingredients. Feel free to adjust these recipes or add food coloring (for color) or essential oils (for fragrance).
For bubble blowers and wands, improvise with items from around the house. For blowers, remove the top and bottom from frozen juice cans or tomato paste, use plastic straws, or forms wands out of pipe cleaner, coat hangers, or wire. For wands, try a slotted spoon, cheese grater, cookie cutter, funnel, strainer, canning jar rings, fly swatter or plastic rings from a six-pack of soda.
Homemade drums
Ages 1+
For the shell, use buckets without lids, empty coffee or paint cans, a cardboard oatmeal canister, different size tin cans or quart-size canning jars. Overturned metal pots, pans, lids, cake pans and muffin tins can also add interest to an assortment of drums.
For the drum covers, use nylon cloth or leather stretched over the shell, held in place with a rubber band or masking tape. Or use Tyvek (no-rip) paper taped tightly over the top (tape on opposite sides all the way around, pulling tightly each time tape is applied, and then secure all the way around with one long piece of tape). Or simply crisscross many strips of electrical tape over the vessel until the opening is completely covered.
For the drumsticks, use spoons, new pencils with erasers, chopsticks or wood dowels. If desired, wrap the end of the drumstick with rubber bands, paper, cloth or cotton balls. Hold material in place with electrical tape, the toe of a sock tied with string, or glue. Or just use your hands to pound the drum.

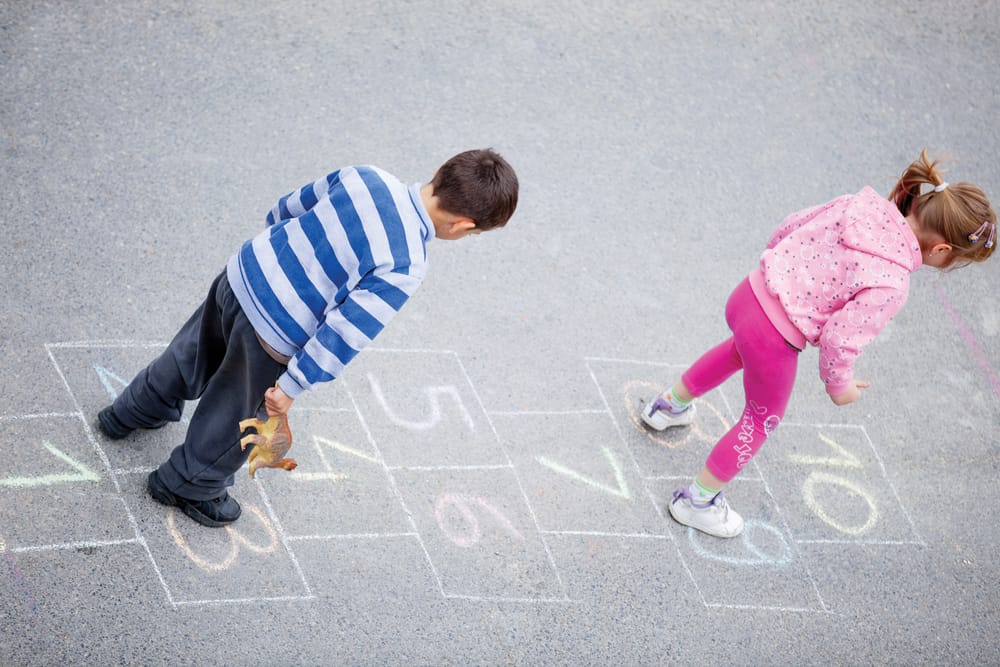
Hopscotch
Ages 6+
There are many different hopscotch course layouts and sets of rules. The important point is that everyone playing understands and follows the same rules.
The course: Draw the course on a driveway or sidewalk using chalk. Use six to 10 spaces or more depending on the age of the players and how complex you want the game to be. The basic elements are:
- A line of squares (often 3) drawn vertically from the start position
- Pairs of horizontal squares breaking up the vertical line (usually 1 or 2 sets)
- A semi-circular safe spot at the end of the course where the player turns around to come back
- A number in each square indicating which order they must be stepped in
To play: The first player tosses his or her marker onto square one. The player hops over that square and lands on one foot in vertical squares and lands on two feet in the pairs of horizontal squares, until he or she reaches the safe spot. There the player must turn around by hopping on one foot and coming back the same way he or she went up, stopping on the square before the marker and bending to pick up it up. The jumper continues hopping until out of the grid. If no mistakes were made, the same player continues by tossing his or her marker to square two and repeats the process, always avoiding contact with the square that contains the marker.
You’re out! When a turn ends, the player places his or her marker in the last completed square and goes to the back of the line. It’s now the next player’s turn, but the player must avoid his or her own marker as well as the first player’s marker by hopping over all occupied squares. A player’s turn ends when one of the following happens:
- Marker does not land on the intended or correct square
- The player loses balance and places hand or second foot down
- Player steps on a line
- Player hops on wrong square or square containing a marker
- Player puts both feet down in a single box
You win! The first player to play his or her marker all the way to the safe spot wins the hopscotch game. For longer play, the markers are played to the safe spot, and then the process is reversed and markers are played in reverse order back to the starting square.

Jump rope
Ages 6+
There are hundreds, if not thousands of jump-rope routines. Here are just a couple to get you started.
Heel-toe. On the first turn, the jumper lands with the weight on the right foot and touching the left heel forward. On the next turn of the rope, she jumps and lands on the right foot, but touches the left toe back beside the right heel. This two-jump pattern is repeated with the left foot bearing the weight. And so on.
Spanish dancer rhyme. This sequence is usually done with a group calling the cadence. The jumper must perform actions as they are called. The splits are just a wide-legged jump. At the end, the jumper must jump with eyes closed while the others count, until the jumper misses.
Here is the cadence:
Not last night but the night before,
Twenty-four robbers came knocking at my door
I asked them what they wanted,
And this is what they said:
Spanish Dancer, do the splits,
Spanish Dancer, turn around
Spanish Dancer, touch the ground,
Spanish Dancer, do not look.
1, 2, 3, 4, 5. . . .
Kite
Age 2+ with adult supervision; age 6+ without supervision
Here are links to instructions for making kites out of shopping bags, trash bags and other inexpensive materials. These kites are easy for beginners to make and fly in light to moderate winds.
How to make a simple kit from a plastic shopping bag from wikiHow.
How to make a box kite from a paper grocery bag from Instructables.
How to make more than 20 other kites from cheap materials from My Best Kite.
You can also buy inexpensive kite kits; the kit below includes the makings of three kites along with some paint markers the kids can use to decorate their kites. Or you can check out this butterfly-shaped kite.

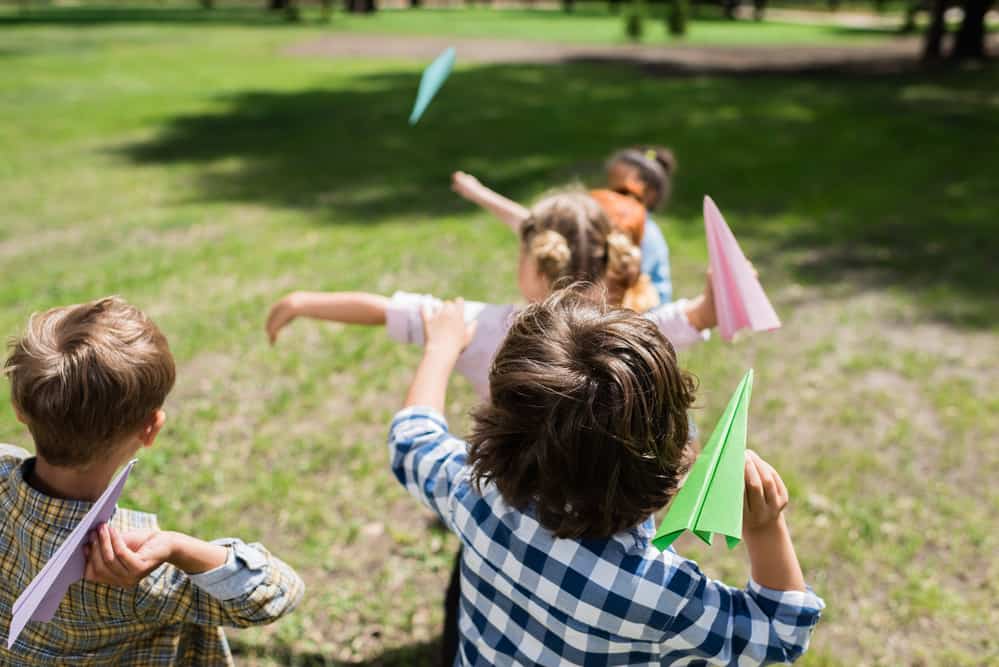
Paper airplanes
Ages 6+
Here are links to instructions to make simple paper airplanes.
Basic dart paper airplane from Fold ‘N Fly
World’s best glider paper airplane from Instructables.
10 easiest paper airplanes from Paper Airplanes HQ.
Propeller toys and bottle rockets
Ages 5+
We searched out some of the easiest methods to get started with this flying fun, using common household items. Some are very simple to make and others might require help from a grownup.
Hand powered vintage (wood) propeller toy from Instructables.
How to make a toy propeller from a plastic bottle (PDF) from Zamcopter.
How to Make a Water Rocket from Wikihow.
Build a bubble-powered rocket from NASA.gov
Design and build an air-powered rocket that can hit a distant target (PDF) for grades 3-8 from NASA.gov.

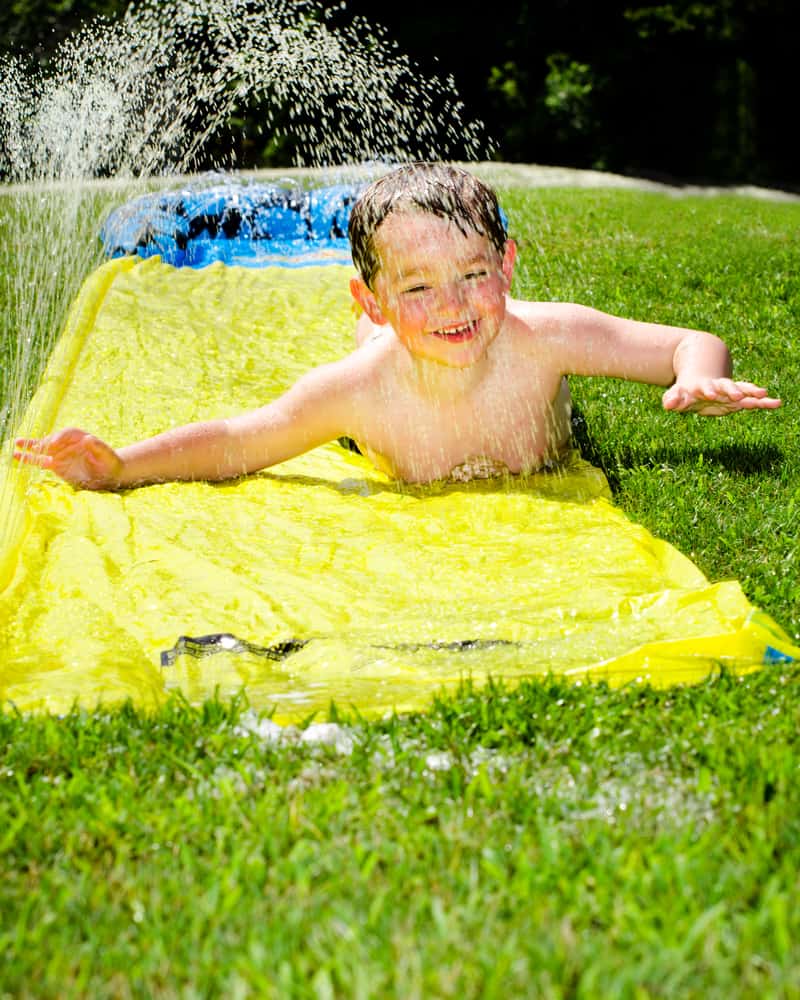
Water slip and slide
Age 5+, with adult supervision; age 8+ without supervision
Buy heavy-duty clear plastic sheeting or a camping tarp (available at most hardware stores) and a cheap bottle of dishwashing liquid or shampoo. Don’t be surprised if you need the whole bottle of soap for a day of play, so definitely get the cheapest bottle you can find, preferably at a dollar store.
Spread the plastic tarp on a gently sloping area of grass. Use a soaker hose, a hose with a spray nozzle set permanently open, or a sprinkler to keep water flowing over the plastic. Turn the water to a light, constant spray. Drizzle some of the cheap soap over the tarp to make it slippery; repeat as needed to keep the kids slipping and sliding.
Once they’re done having fun, be sure to have them fold up the slip ‘n slide to save for later use – and to save your grass.
Zucchini car races
Ages 6+
Make cars using zucchini with wooden “tinker toy” wheels attached with nails. (Use these wheels if you don’t have any Tinker Toys.) Optional adornments include pipe cleaners twisted into spirals, stickers, glitter, feathers, beads attached with pins, flags glued to toothpicks, etc. Use materials you have on hand.
Race the cars on a sloping driveway or sidewalk. Alternatively, you can build a track out of a large piece of cardboard or wood. The general idea is to glue cardboard or wood strips on the edges of the track to prevent cars from flying off, as well as gluing dowels or strips between lanes to keep the cars separate as they careen down the track. Prop the track on one end to create a slanted racing surface, and let the races begin.
Are these family-friendly activities?
They are! Channel your inner child and have fun with the kids! You can play hopscotch, blow bubbles, and have a blast. There’s nothing here that you can’t do with your little ones!
How long should kids play daily?
It used to be 30 minutes, but now experts say that 60 minutes of activity is what needs to be done. This doesn’t have to be outside, because you have to be aware of the sun and heat!
Be sure to try some of these summer activities for kids this year. These DIY activities give your kids the chance to be outside and be creative by making their own toys from stuff around the house.
If you liked this article, you might also like:


Use Baby Shampoo from the Dollar Store for the Cheap Slip ‘n Slide. No Tears.