I love reading magazines and get a lot of free and cheap subscriptions. Once I’m done reading them, I often swap them with friends or leave them at the gym for others to read, but I always end up with a stack at home that I need to get rid of.
If you’re wondering what to do with old magazines, read on. You make make a bowl or recycled magazine basket in minutes!
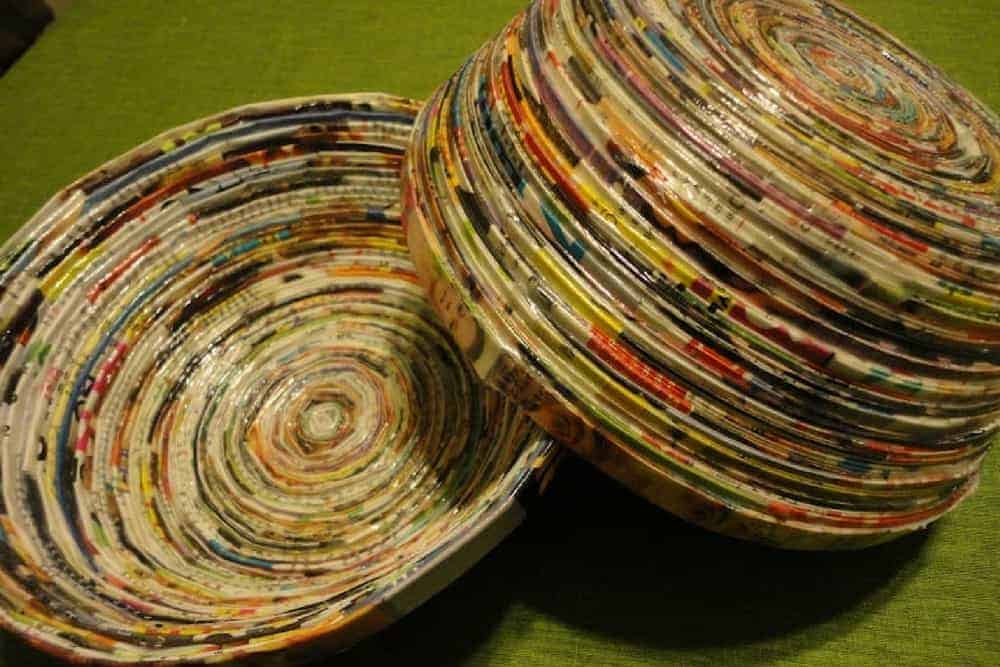
One of my favorite ways to recycle magazines is to make magazine bowls. These are easy to make with few additional resources, plus they’re sturdy and eye-catching. They make great gifts and gift baskets, or can be used as decorative catchalls around the house. I’ve never timed myself making one of these, but I would guess it is about three hours of work, though it can be broken up into short increments. It’s mindless work that I do while I’m watching television in the evenings.
Grab a stack of magazines and make a bowl in honor of Earth Month. You’ll love making these recycled paper bowls.
Bowl-Making Tips
- If you’re using more than one magazine, use two issues of the same “brand” or make sure that both magazines are the same width and length, so your slats will be the same size.
- The thinner the magazine page, the easier to coil. Most are approximately the same thickness, but I tried a ReadyMade magazine and the pages were too thick. I’ve used US Weekly, Fitness, Shape, Better Homes and Gardens, Clean Eating, Self, etc.
- When you fold the slats, use the side of the page that is most colorful. If a page is all black and white on one side, crease the page so that side is on the inside, unless you are going for a black and white bowl.
- Start with a small bowl (one magazine or less) for your first attempt. It won’t be as frustrating if it uncoils and you have to start over.
- I buy Mod Podge at Joann, Michael’s or Hobby Lobby because the stores always have 40% off coupons. Each bottle is about $7 regular price, and is enough to make several bowls. If you don’t have Mod Podge, I’ve read that watered-down glue or other sealant should work, but I haven’t tried this.
- Even after these are sealed, they aren’t waterproof or food safe. Modge Podge is non-toxic, so wrapped food or candy would be fine.
Magazine Bowl Tutorial
Materials
1 to 3 magazines, depending on how thick they are and how big you want your bowl
Scotch tape
Modge Podge
clear coat (if desired)
Magazine bowls instructions
Tear out the pages of your magazine, discarding any irregular pages (perfume samples, thick pages, recipe cards, etc). Don’t worry if the torn edges are a little jagged. Those will be folded in and won’t show.
Folding
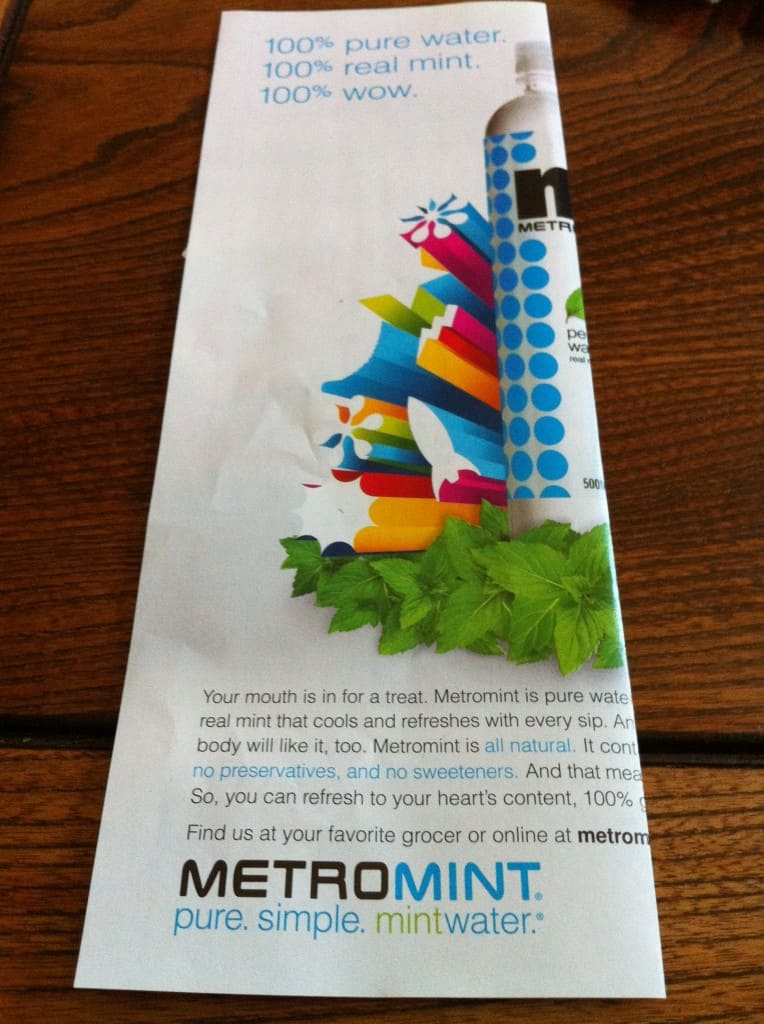
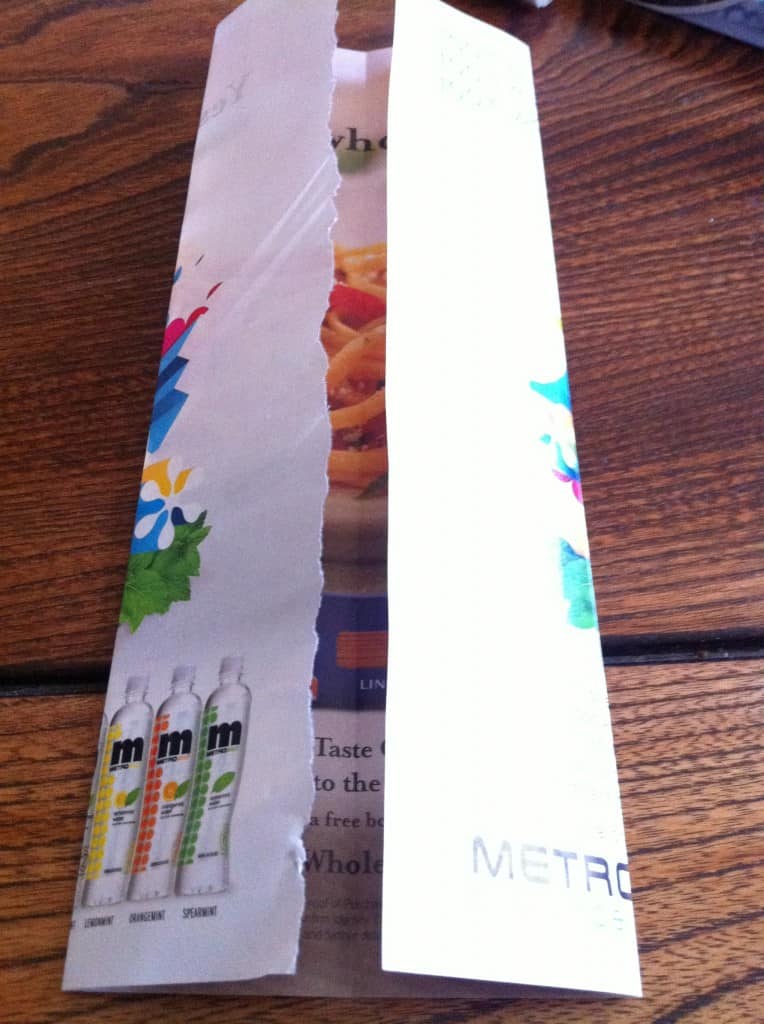
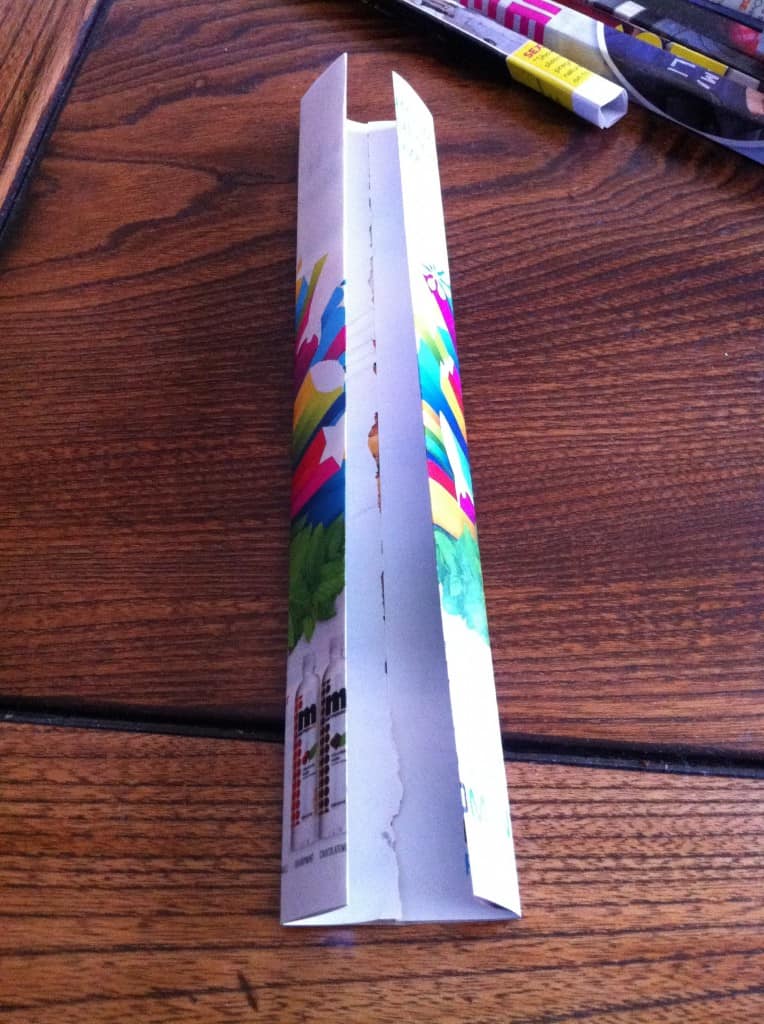
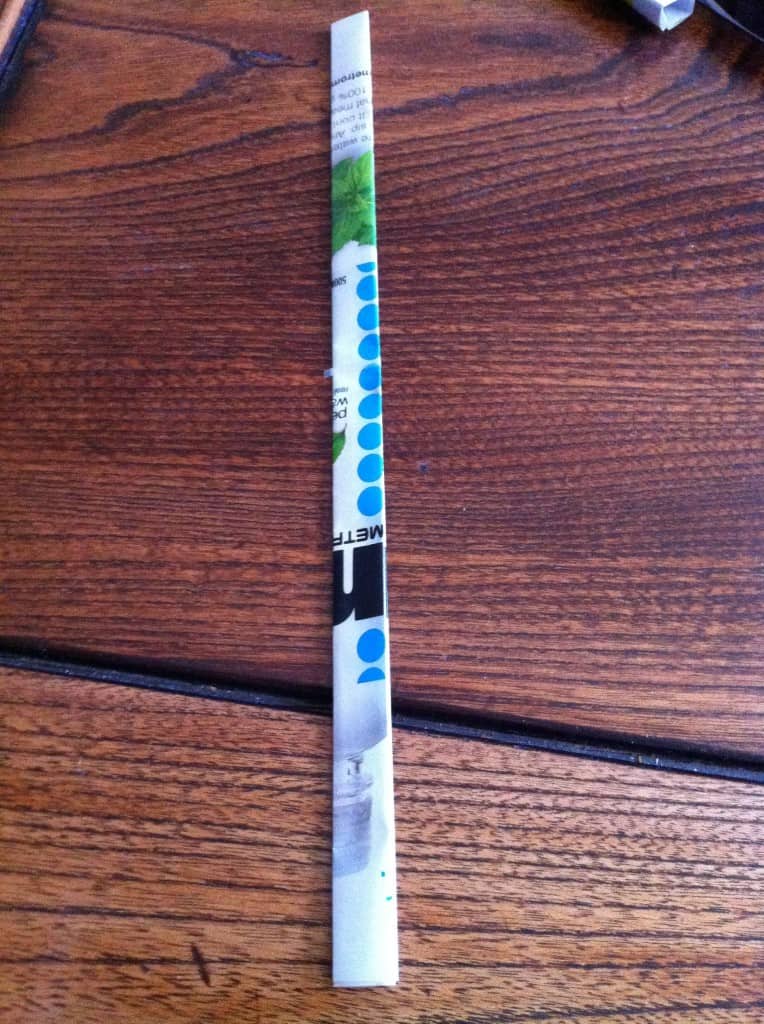
Fold each page according to the following photos:
Fold page in half and crease:
Open page and fold one half of the first side in to meet the crease:
Fold other half of the page in to meet the crease:
Fold both sides in half again towards the crease:
Fold in half again along the original crease:
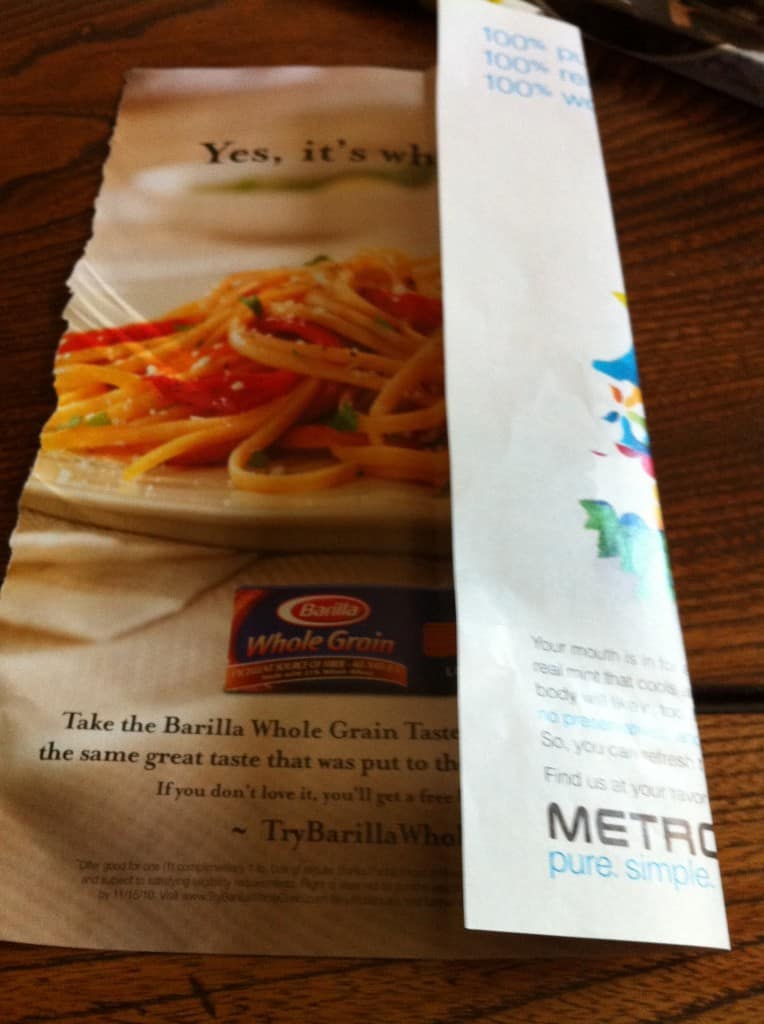
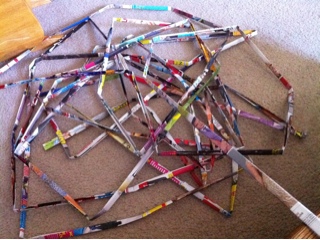
You’ll end up with a stack of slats, like this:
Connecting
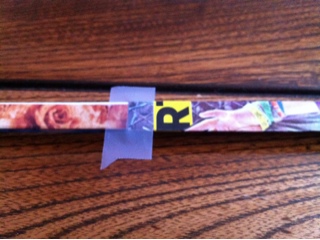
Tear off some tape to connect the slats. I like to tear off eight to 10 pieces of tape at a time that are about this size and stick them on the edge of the table. You want it to wrap around both sides without a lot of overlap.
Start connecting the slats with pieces of tape. I position the middle of the tape across the slats and fold the ends over the other side. It will look neater if you keep all of the creased sides of the slats facing the same direction.
Sometimes I connect three slats at a time and put them in a pile before I start the big long chain. Or you can tape all of the slats together at one time.
Coiling
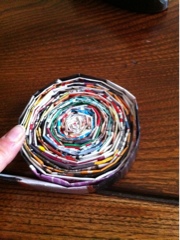
Once you start this step, you need to finish it in one shot or else it could unravel. If you have to stop in the middle of coiling, you could tape it or use a binder clip to keep it from unrolling. Starting at one end, tightly roll the first slat into itself, continuing on until all of the slats are coiled up. You want to keep this pretty tight (and your hands will get tired).
While I’m rolling it up, every once in a while I lay the coil on the table with my palm on top and spin the coil in the opposite direction to tighten the whole coil. On occasion, a piece of the connector tape will break/tear. I like to have extra pieces of tape ready to refasten the slats when this happens. I just pin the coil down with my arm while I re-tape the slates together and continue coiling.
Keep coiling until you get to the size that you’d like the diameter of the top of the bowl to be.
Secure the end of the last slat to the coil with tape or a dab of super glue. If using tape, try to use a small enough piece to tuck behind the slat so that it doesn’t stick out .
Shaping
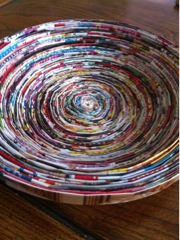
Carefully form it into a bowl shape by slowly pushing the sides up evenly.
This is hard and can be frustrating because if you mess up and the bowl uncoils or you push the sides up too far, you pretty much have to start over. One of the first times I did this, the bowl uncoiled and I was so frustrated that I threw it across the room in a temper tantrum. So don’t feel bad if you mess it up the first time or two — or if you throw it!
When you get it to the height that you want, use a ruler or piece of paper to measure the sides to make sure they are pushed up to the same approximate height. (You can also eyeball it.) Trim off any pieces of tape that you see sticking up, if any.
Sealing
Once you get the bowl to the right shape and size, you’ll want to seal the bowl so that it’s sturdy. I use Mod Podge and a small paintbrush or foam brush. Paint the Mod Podge on thickly. The paper will absorb it and it will dry clear. Coat the inside of the bowl and let it sit over night. The next day, turn the bowl over and coat the outside of the bowl. I usually do about three coats on each side. After it’s completely dry, you can spray it with a couple coats of acrylic clear coat spray to eliminate tackiness, if desired. Enjoy!
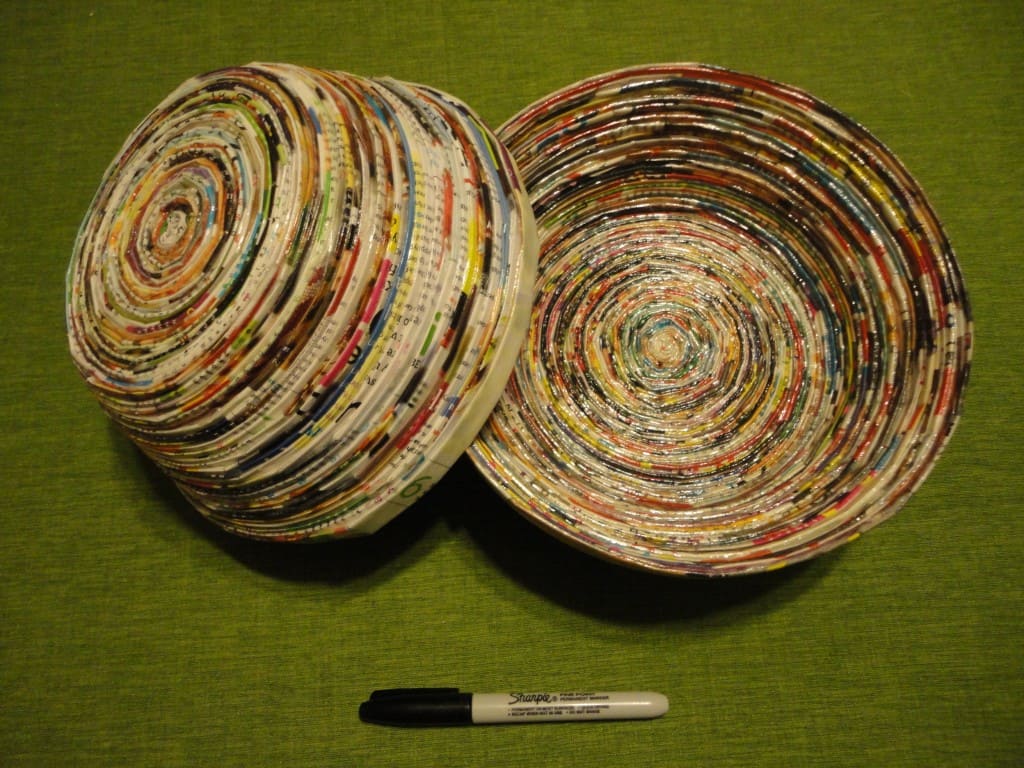
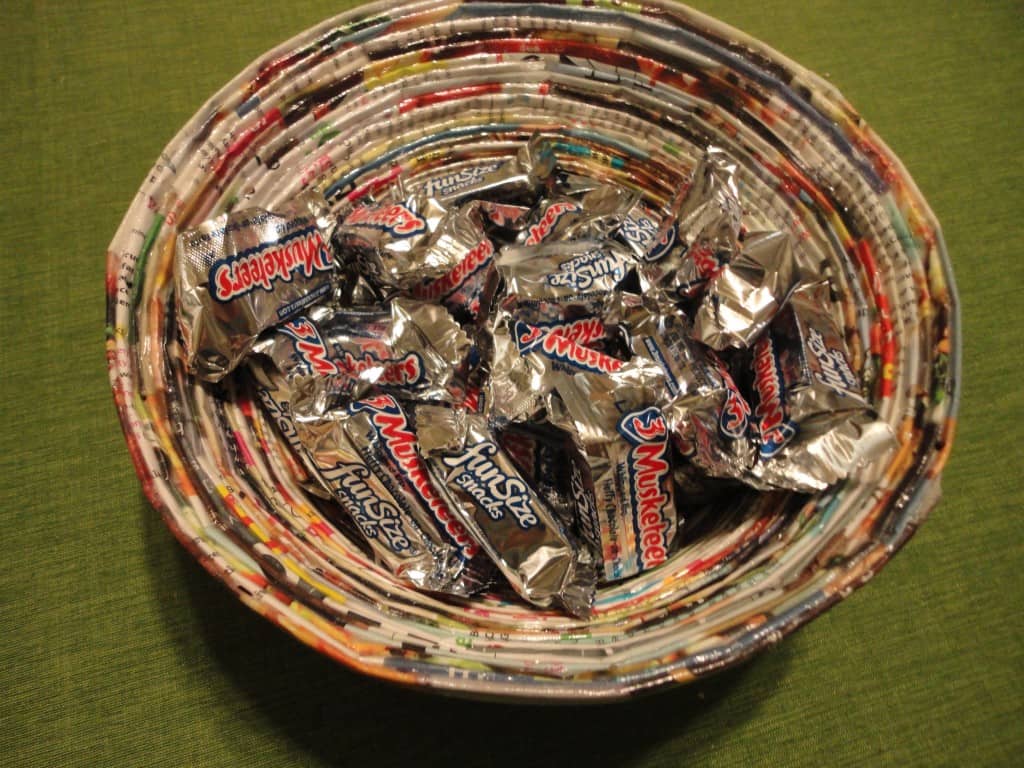
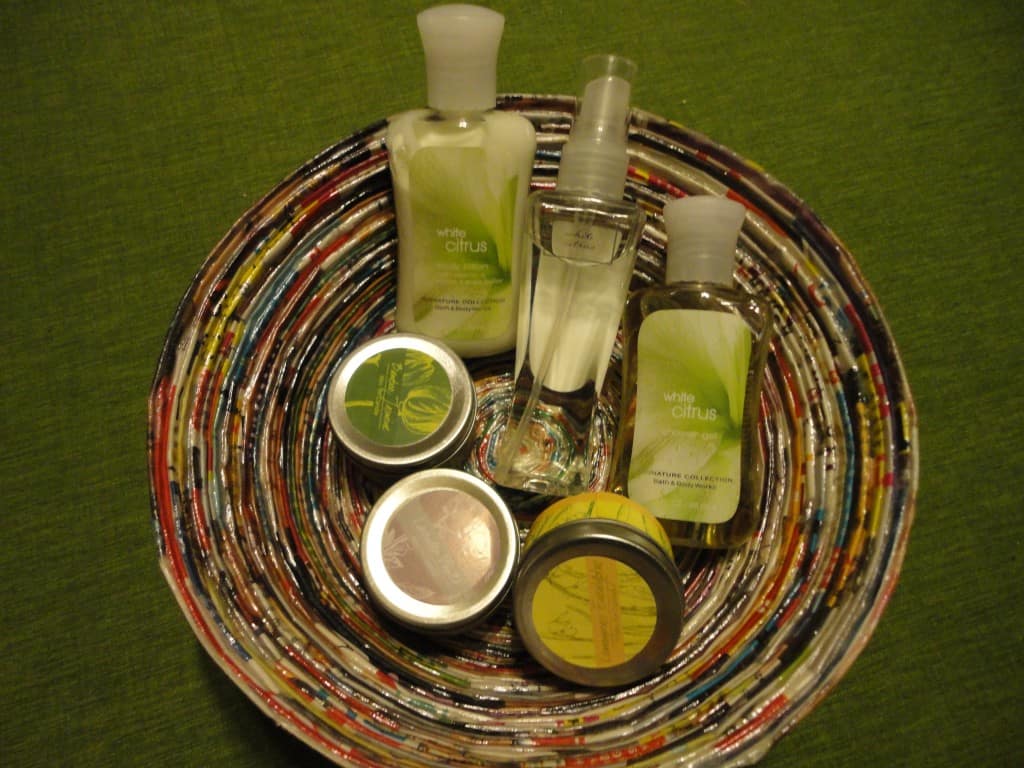
Here are some additional pictures. I used two Clean Eating magazines for the smaller bowl and two and a half to three magazines for the bigger bowl.
If you liked this article, you may also enjoy:
- 15 non-food uses for Glad Press’n Seal
- Daily savings for papercrafters who like deals
- Where to go for free craft lessons and inspiration
- Great ways to celebrate Earth Day every day
- New ways to use old sweaters
- 10 uses for shredded paper
- DIY spa day gift basket




What a great idea! This would make a great project for Girl and Boy Scouts or a class project for recycling.
i am not having luck with this coiling part. a video would have been perfect to see how this is done. :) thank you for the awesome idea!
I have found that if your magazine paper strip is too thick or heavy, it does not make a good coil. I do not use an entire page for one strip – half a page or less is better and easier to handle.
One of the first craft projects I ever did was to use an oatmeal box or can and cover it with straws made by rolling magazine pages around a pencil and attaching to container. This was in the 50’s , I think it was a school art project.
Do you overlap the slats when you are connecting them or put them end to end?